Quickstart
Prerequisites
- Node version 18.x.x is recommended.
- Anything above Node version 16.14.x is supported.
- We recommend https://github.com/nvm-sh/nvm for managing Node installations.
Install the app
Open a terminal window and run the following command to install the launchpad:
npm install -g @polygonlabs/dapp-launchpad
Initialize a new project
dapp-launchpad init <PROJECT-NAME>
This creates a new directory in your current directory, initializes a minimal dApp project, and installs the required packages.
Project templates
By default, the scaffolded project uses JavaScript. For TypeScript, use the --template flag.
dapp-launchpad init <PROJECT-NAME> --template typescript
To see the available templates, run the following:
dapp-launchpad list scaffold-templates
Set up environment variables
There are mandatory environment variables in both the frontend and smart-contracts directories.
-
cdinto your project directory. -
Navigate to the frontend folder and copy the example file.
cd frontend cp .env.example .env -
Open the
.envfile and add theNEXT_PUBLIC_WALLETCONNECT_PROJECT_IDto the file.How to get the WalletConnect project id
You can get the variable by creating an application on WalletConnect.
- Create an account and sign in.
- Select Create a new project.
- Give it a name and select App.
- The URL can be blank.
- Click the Create button underneath the project box.
- Copy the project id and paste it into the frontend
.envfile.
-
Navigate to the smart-contracts directory and copy the example file.
cd proj/smart-contracts cp .env.example .env -
Open the
.envfile and add the mandatoryPRIVATE_KEY_DEPLOYERvariable. This is a private key from any wallet account.Info
The other variables in the smart-contracts
.envfile are optional.
Start developing
-
Run the following command from the project root:
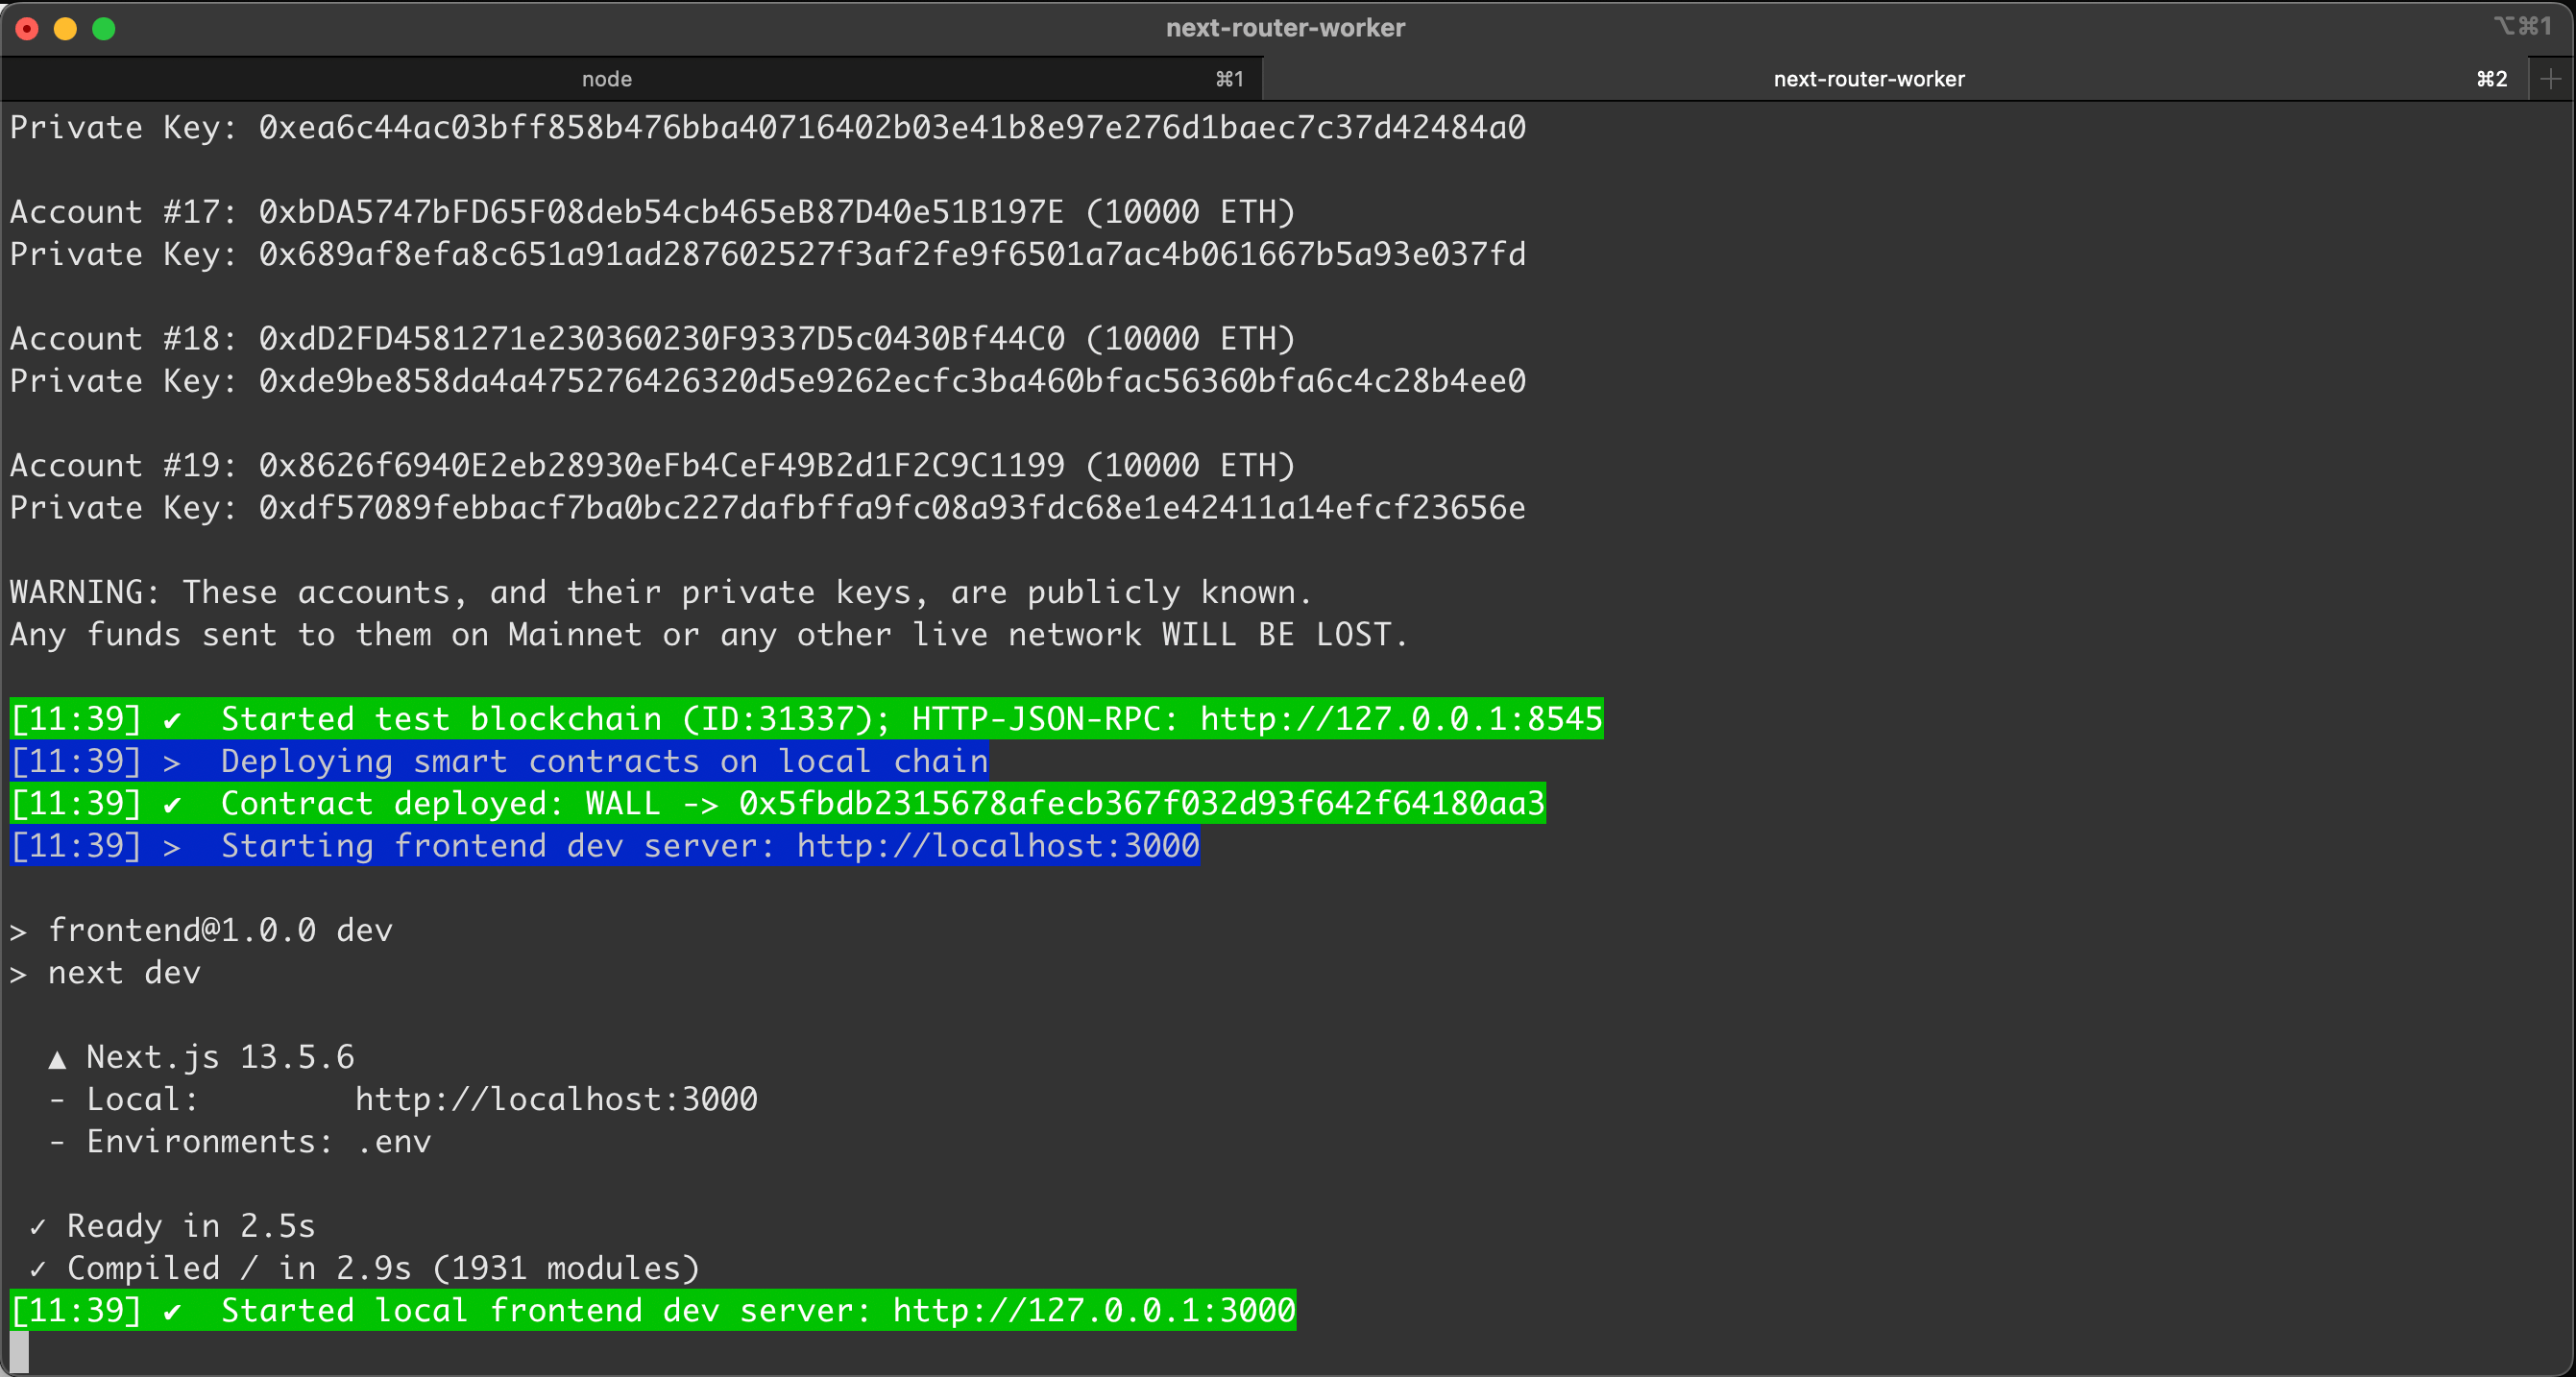
dapp-launchpad devYou will see the local test blockchain running with deployed contracts and some pre-funded wallets you can use.
-
Open http://localhost:3000 in a browser.
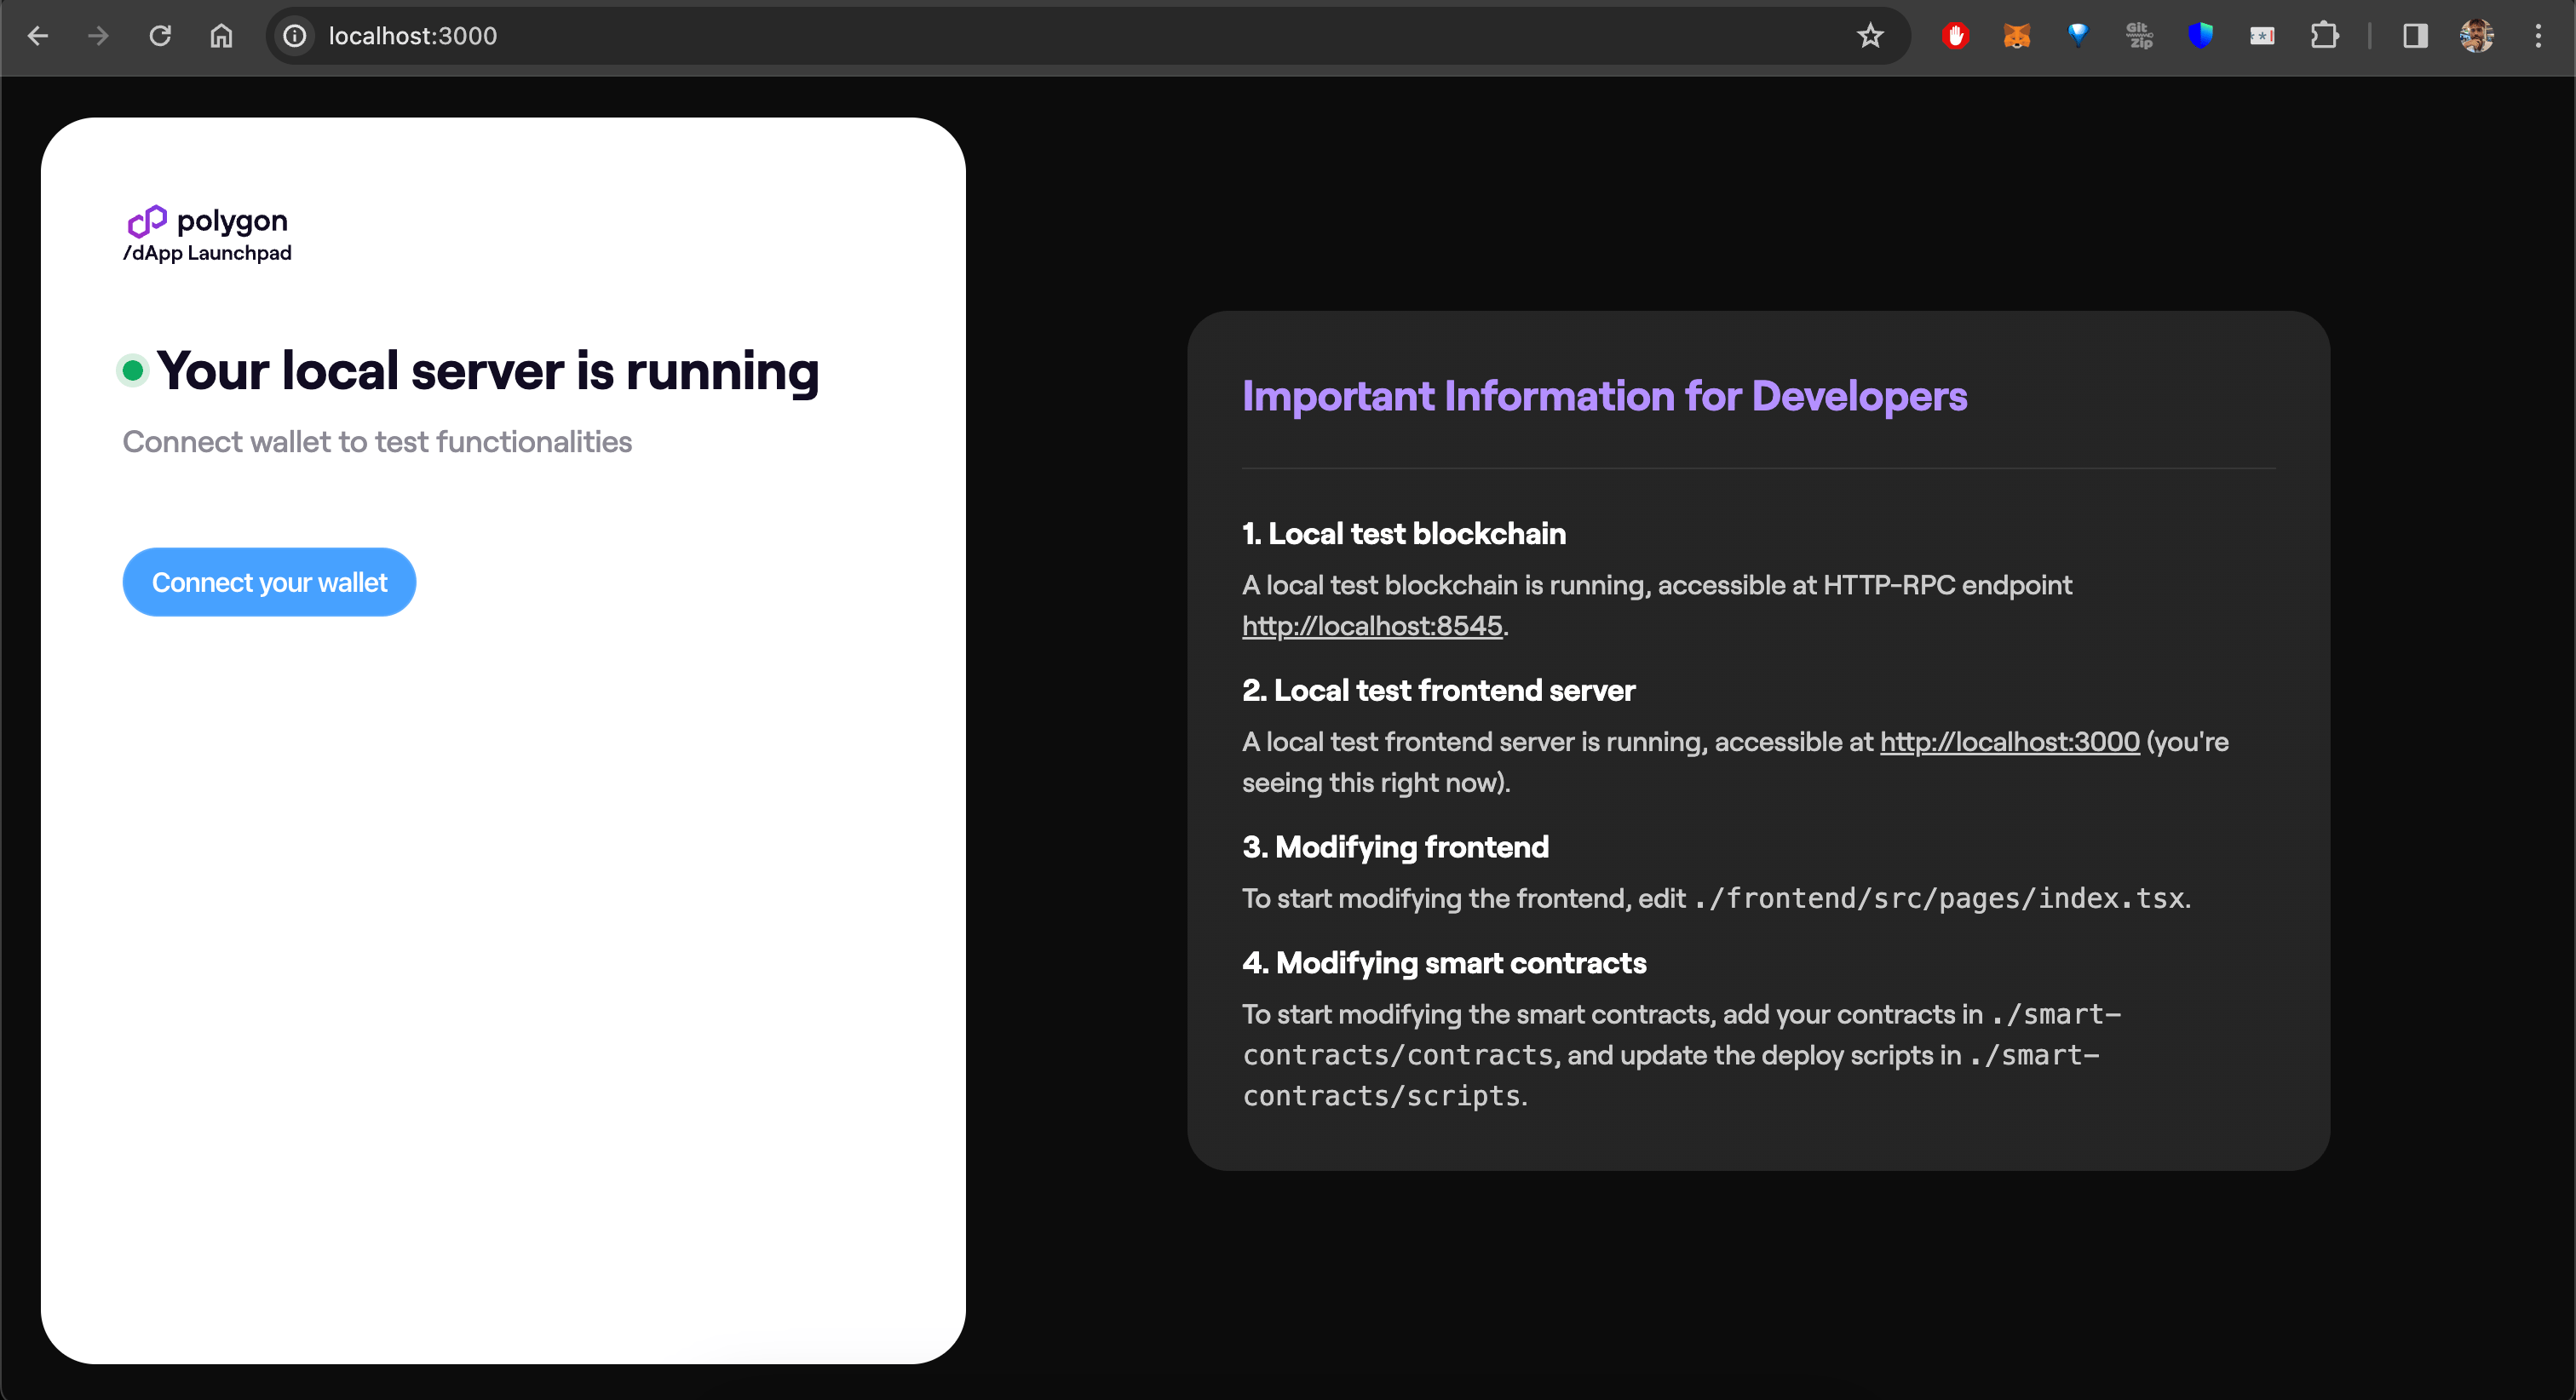
You now have a fully integrated dev environment including a local dev blockchain and a local frontend dev server. Any changes to the code automatically updates both the frontend and the smart contracts. No manual reload is necessary.
Start developing on an existing chain fork
You can start developing by forking an existing chain. To see the available options run the following:
dapp-launchpad dev -h
The chain name options are in this section of the help output:
-n, --fork-network-name [NAME]        Name of the network to fork; optional.
                                        By default, it starts a new
                                        chain from genesis block. (choices: "ethereum", "goerli",
                                        "polygonPos", "polygonMumbai", "polygonZkevm", "polygonZkevmTestnet")
To fork Polygon zkEVM, for example, run the following command:
dapp-launchpad dev -n polygonZkevm
To fork at a particular block number run the command including the optional flag -b:
dapp-launchpad dev -n polygonZkevm -b [BLOCK_NUMBER_TO_FORK_AT]
Deploy your app to production
To deploy your project to production, run:
dapp-launchpad deploy -n <CHAIN-NAME>
This does two things:
- Deploys all your smart contracts to the selected chain, and logs the deployment results.
- Deploys your frontend to Vercel, and logs the deployment URL.
To deploy only the smart contracts, run:
dapp-launchpad deploy -n CHAIN_NAME --only-smart-contracts
To deploy only the frontend, run:
dapp-launchpad deploy -n CHAIN_NAME --only-frontend
Important
The frontend deployment requires that smart contracts to have already been deployed, so if you are only deploying the frontend, make sure that you:
- Have already run the smart contracts deploy command successfully.
-
If not, run the following wizard command:
`generate smart-contracts-config -e production -n CHAIN_NAME`