Hardhat
Overview
Hardhat is an Ethereum development environment for deploying smart contracts, running tests, and debugging Solidity code locally.
In this tutorial, you will learn how to set up Hardhat and use it to build, test, and deploy a simple smart contract.
Set up
-
Ensure you have installed the following:
-
Git.
-
Create an npm project
mkdir hardhat-test
cd hardhat-test/
npm init
- Now install Hardhat.
npm install --save-dev hardhat
Note
The sample project used here comes from the Hardhat Quickstart guide, as well as its instructions.
Creating a project
To create a sample project, run npx hardhat in your project folder. You should see the following prompt:
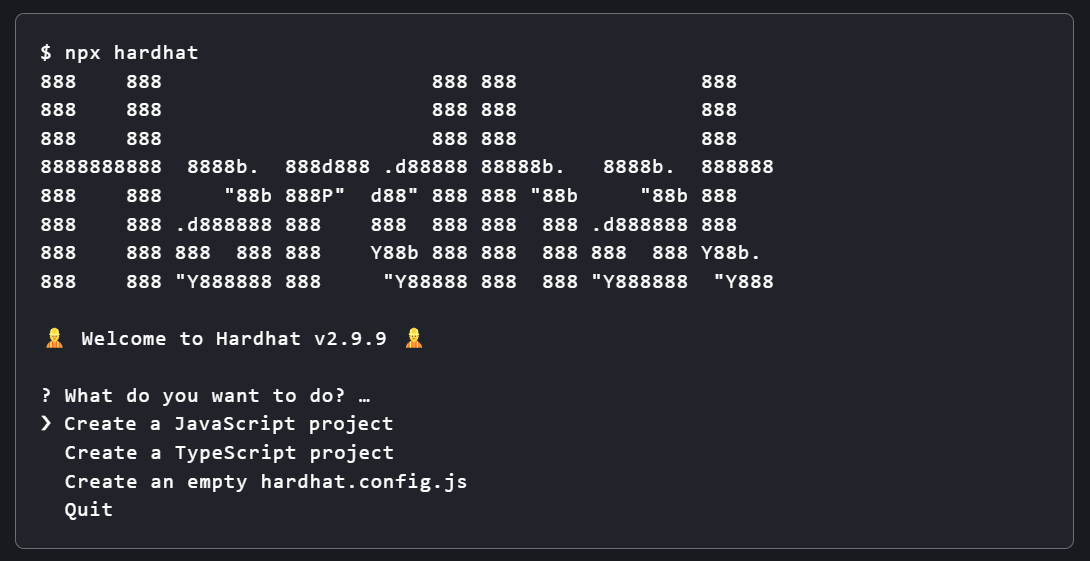
Choose the JavaScript project and go through these steps to compile, test and deploy the sample contract.
Checking the contract
The contracts folder contains Lock.sol, which is a sample contract which consistis of a simple digital lock, where users could only withdraw funds after a given period of time.
// SPDX-License-Identifier: UNLICENSED
pragma solidity ^0.8.9;

// Import this file to use console.log
import "hardhat/console.sol";

contract Lock {
    uint public unlockTime;
    address payable public owner;

    event Withdrawal(uint amount, uint when);

    constructor(uint _unlockTime) payable {
        require(
            block.timestamp < _unlockTime,
            "Unlock time should be in the future"
        );

        unlockTime = _unlockTime;
        owner = payable(msg.sender);
    }

    function withdraw() public {
        // Uncomment this line to print a log in your terminal
        // console.log("Unlock time is %o and block timestamp is %o", unlockTime, block.timestamp);

        require(block.timestamp >= unlockTime, "You can't withdraw yet");
        require(msg.sender == owner, "You aren't the owner");

        emit Withdrawal(address(this).balance, block.timestamp);

        owner.transfer(address(this).balance);
    }
}
Setting up the contract
- Go to
hardhat.config.js - Update the
hardhat-configwith matic-network-credentials - Create
.envfile in the root to store your private key - Add Polygonscan API key to
.envfile to verify the contract on Polygonscan. You can generate an API key by creating an account
require('dotenv').config();
require("@nomiclabs/hardhat-ethers");
require("@nomiclabs/hardhat-etherscan");

module.exports = {
  defaultNetwork: "polygon_mumbai",
  networks: {
    hardhat: {
    },
    polygon_mumbai: {
      url: "https://rpc-mumbai.maticvigil.com",
      accounts: [process.env.PRIVATE_KEY]
    }
  },
  etherscan: {
    apiKey: process.env.POLYGONSCAN_API_KEY
  },
  solidity: {
    version: "0.8.9",
    settings: {
      optimizer: {
        enabled: true,
        runs: 200
      }
    }
  },
}
Note
Note that the file above requires DOTENV, for managing environment variables and also ethers and etherscan. Make sure to install all those packages.
Find more instructions on how to use DOTENV on this page.
You can deploy on MATIC(Polygon mainnet) if you change polygon_mumbai by MATIC.
Compiling the contract
To compile the contract, you first need to install Hardhat Toolbox:
npm install --save-dev @nomicfoundation/hardhat-toolbox
Then, simply run to compile:
npx hardhat compile
Testing the contract
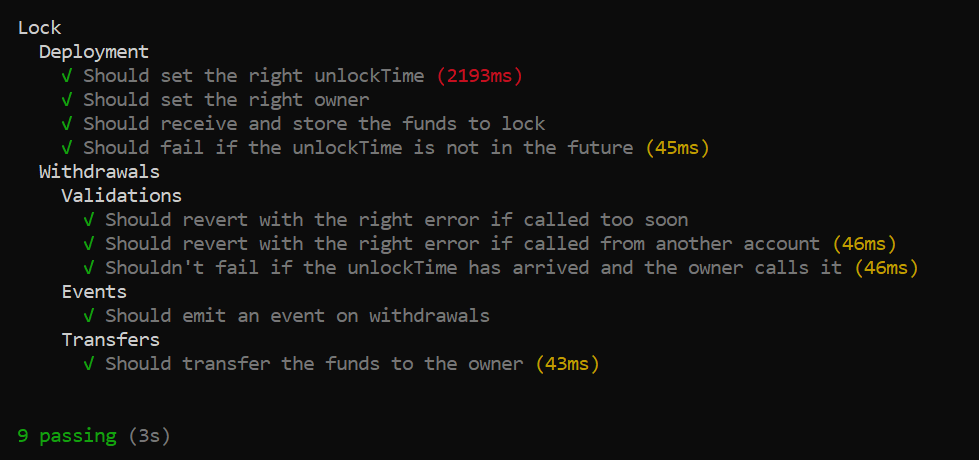
To run tests with Hardhat, you just need to type the following:
npx hardhat test
And this is an expected output:
Deploying on Polygon network
Run this command in root of the project directory:
npx hardhat run scripts/deploy.js --network polygon_mumbai
The contract will be deployed on Matic’s Mumbai Testnet, and you can check the deployment status here: https://mumbai.polygonscan.com/
Congratulations! You have successfully deployed Greeter Smart Contract. Now you can interact with the Smart Contract.
Quickly verify contracts on Polygonscan
Run the following commands to quickly verify your contract on Polygonscan. This makes it easy for anyone to see the source code of your deployed contract. For contracts that have a constructor with a complex argument list, see here.
npm install --save-dev @nomiclabs/hardhat-etherscan
npx hardhat verify --network polygon_mumbai 0x4b75233D4FacbAa94264930aC26f9983e50C11AF