This tutorial follows the Hardhat Quickstart guide and adapts it for Polygon.
Prerequisites
Step 1: Create a project and install Hardhat
-
Create an npm project:
-
Install Hardhat:
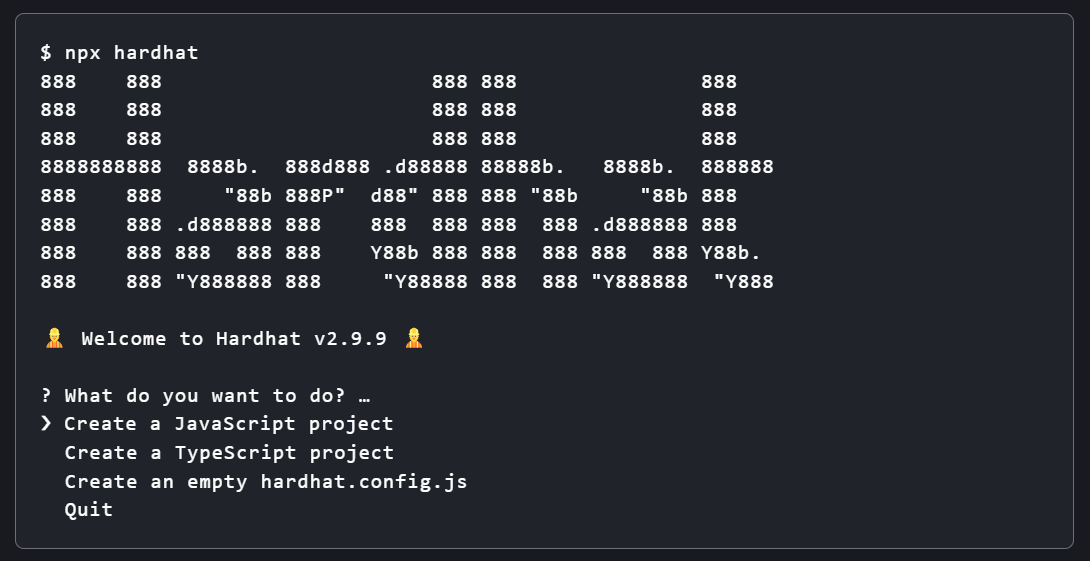
Step 2: Create a sample project
Runnpx hardhat in your project folder:
Step 3: Review the sample contract
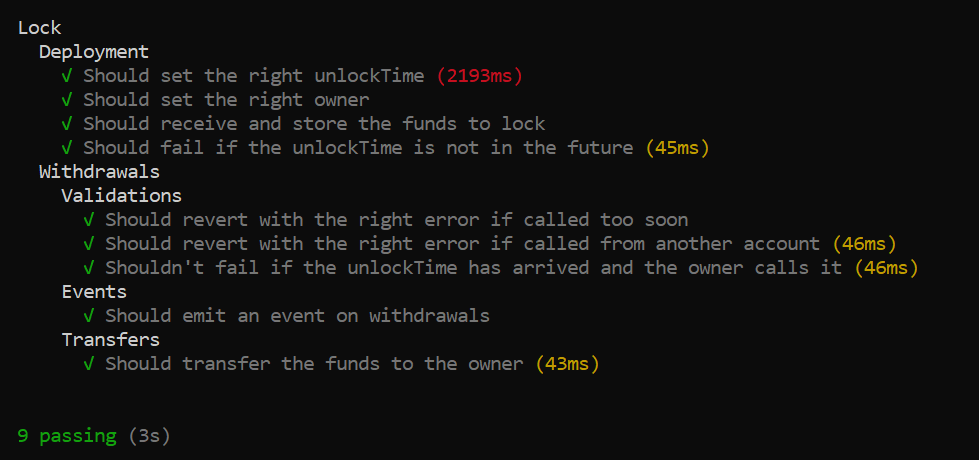
Thecontracts folder contains Lock.sol, a simple contract that lets the owner withdraw funds only after a specified time period.
Step 4: Configure Hardhat for Polygon Amoy
- Open
hardhat.config.js. - Create a
.envfile in the project root. - Add your private key and a Polygonscan API key to
.env. Generate a Polygonscan API key by creating an account.
hardhat.config.js with:
This config uses DOTENV for environment variables. Install dotenv along with the other required packages:Find more information about dotenv on npm.
Step 5: Compile the contract
Install the Hardhat toolbox, then compile:Step 6: Run the tests
Step 7: Deploy to Polygon Amoy
Run the deploy script from the project root:https://amoy.polygonscan.com/.
You have successfully deployed the Lock smart contract to Polygon Amoy. You can now interact with it through Polygonscan or your own frontend.