Prerequisites
- Node.js version 18.x.x (recommended). Versions above 16.14.x are supported.
- Use nvm to manage Node installations if you need multiple versions.
Step 1: Install the CLI
Open a terminal and install dApp Launchpad globally:Step 2: Initialize a new project
Choose a template
By default, the project uses JavaScript. For TypeScript, pass the--template flag:
Step 3: Set up environment variables
Both thefrontend and smart-contracts directories require environment variables before you can start the dev environment.
-
Change into your project directory:
-
Copy the frontend environment file:
-
Open the frontend
.envfile and add yourNEXT_PUBLIC_WALLETCONNECT_PROJECT_ID. To get a WalletConnect project ID:- Create an account at WalletConnect Cloud and sign in.
- Select Create a new project.
- Give it a name and select Continue. You can leave the URL empty for now.
- Select AppKit and continue.
- Select Next.js and then select Create in the bottom right of the pop-up window.
- Copy the project ID from the sidebar and paste it into the frontend
.envfile.
-
Copy the smart contracts environment file:
-
Open the smart-contracts
.envfile and set thePRIVATE_KEY_DEPLOYERvariable to a private key from any wallet account you control. The other variables in this file are optional.
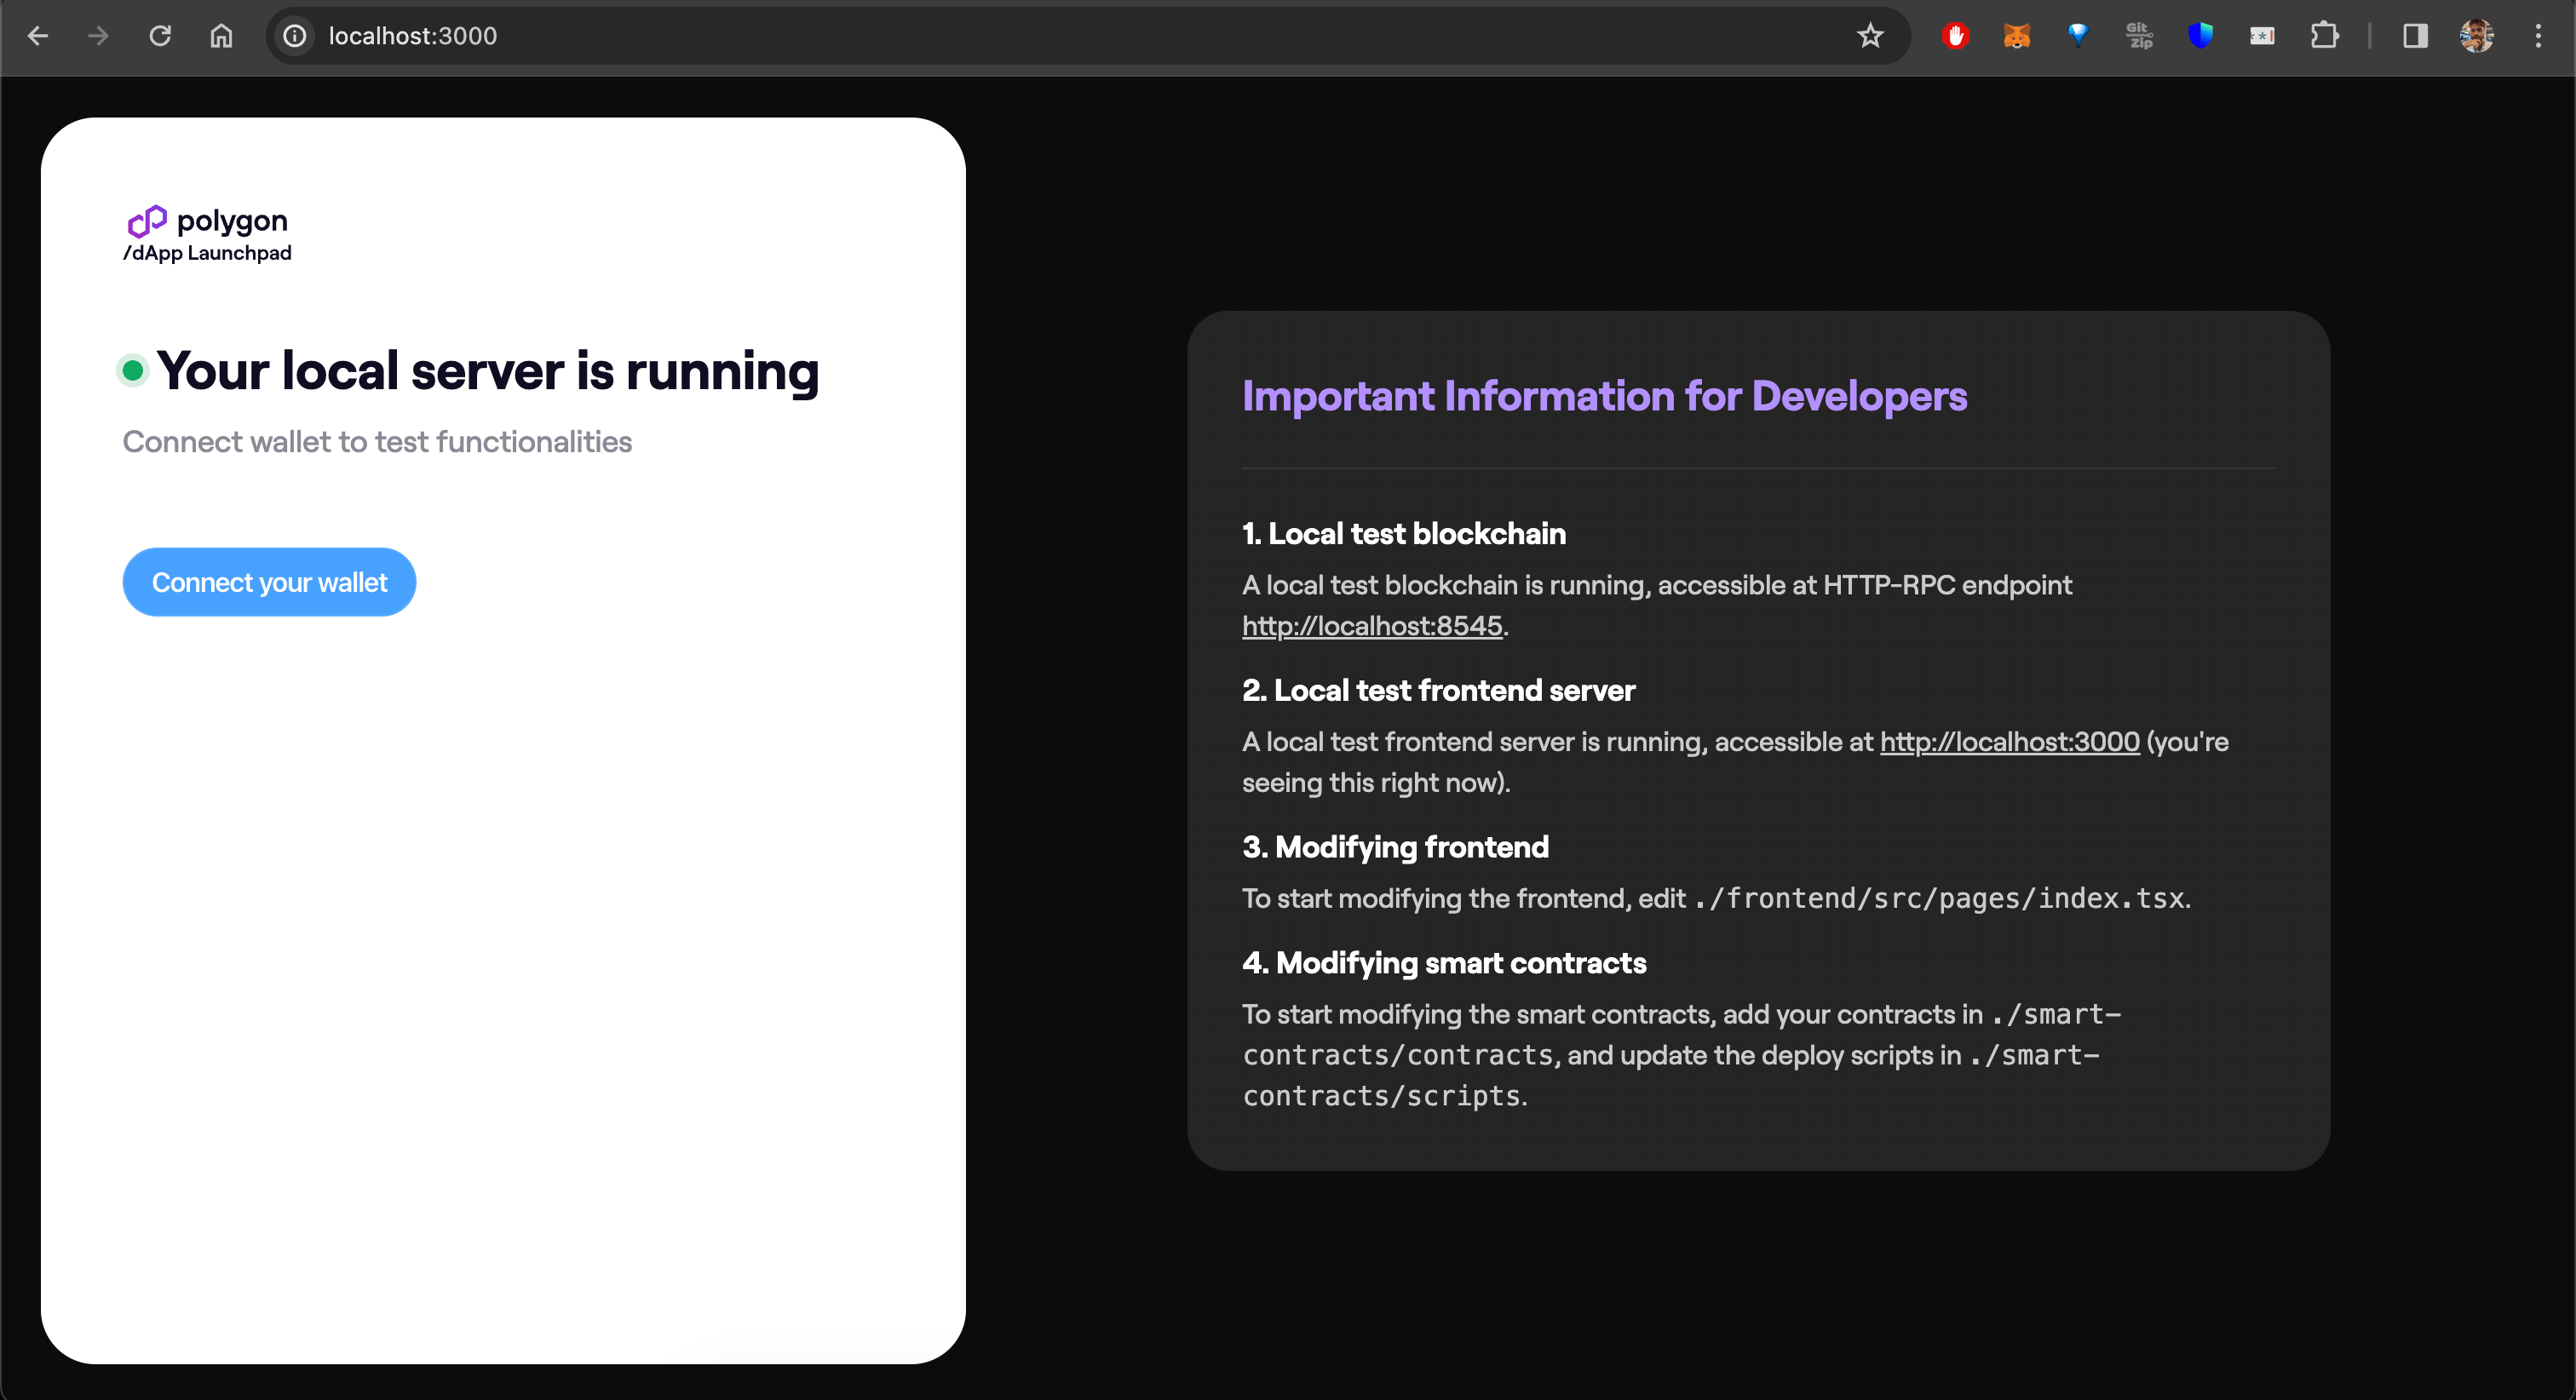
Step 4: Start the development environment
Run the following from your project root: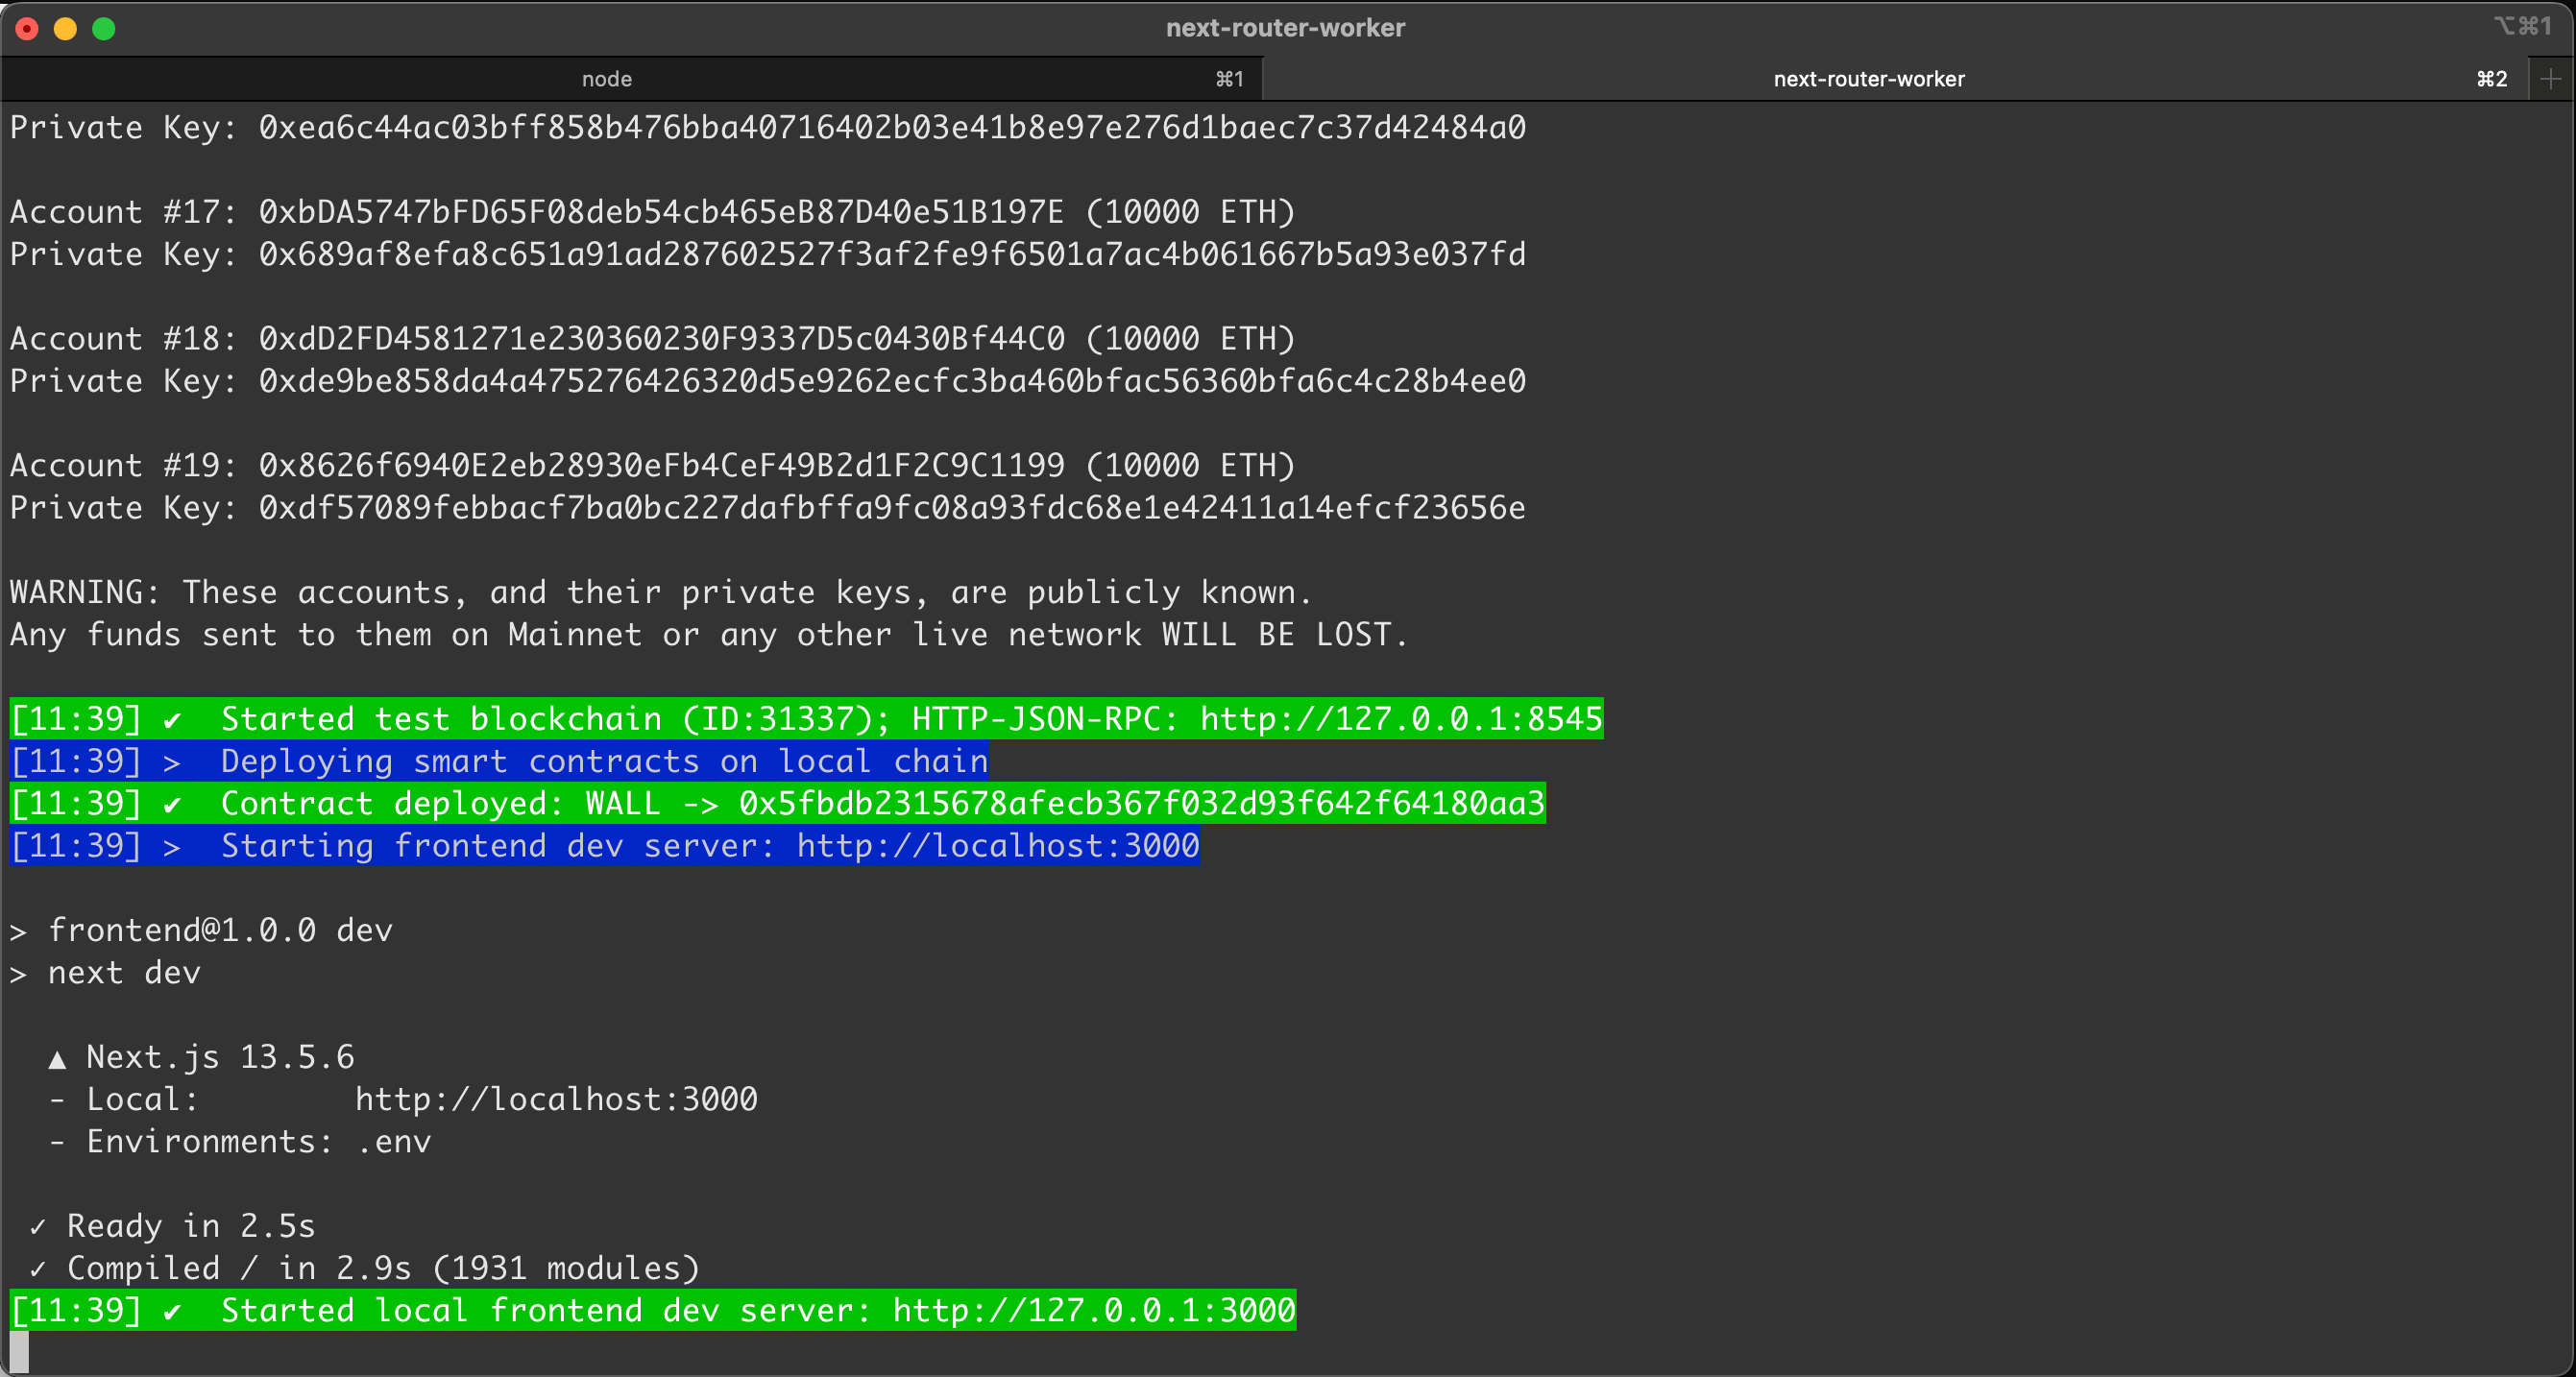
Developing against a forked chain
To fork an existing network instead of starting from genesis, pass the-n flag:
ethereum, goerli, polygonPos, polygonAmoy, polygonZkevm, polygonZkevmTestnet
To fork at a specific block number:
Deploy to production
To deploy both your smart contracts and frontend to production:Frontend deployment requires that smart contracts are already deployed. If you are deploying only the frontend, either run the smart contracts deploy first, or manually generate the smart contracts config: