Initial setup
To get started, you’ll need to have shell access with root privileges to a linux machine.
Install Docker
It is likely that your operating system won’t have Docker installed by default. Please follow the instructions for your particular distribution found here: https://docs.docker.com/engine/install/ We’re following the instructions for Ubuntu. The steps are included below, but please refer to the official instructions in case they’ve been updated.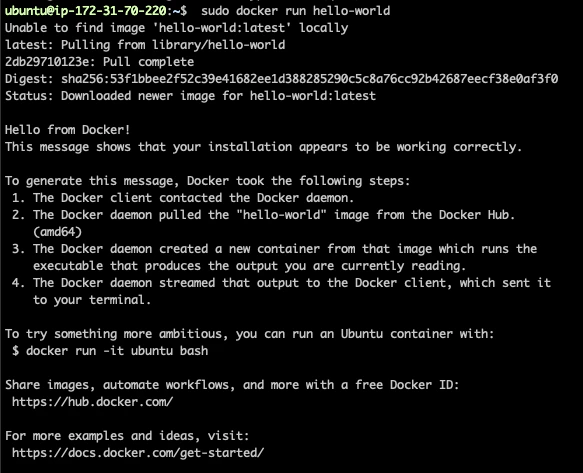
root user so we’ll follow the post install steps here in order to interact with docker without needing to be root:
sudo.
Disk setup
The exact steps required here may vary a lot based on your needs. Most likely you’ll have a root partition running your operating system on one device. You’ll probably want one or more devices for actually holding the blockchain data. For the rest of the walkthrough, we’re going to have that additional device mounted at/mnt/data.
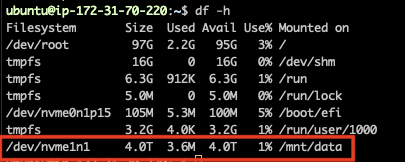
In this example, we have a device with 4 TB of available space located at /dev/nvme1n1. We are going to mount that using the steps below:
df -h to make sure the mount looks good.
/etc/fstab in order to make sure your device is mounted when the system reboots.
In our case we’re following some steps like this:
Heimdall setup
At this point, we have a host with docker running on it and we have ample mounted storage to run our Polygon node software. So let’s get Heimdall configured and running. First let’s make sure we can run Heimdall with docker. Run the following command: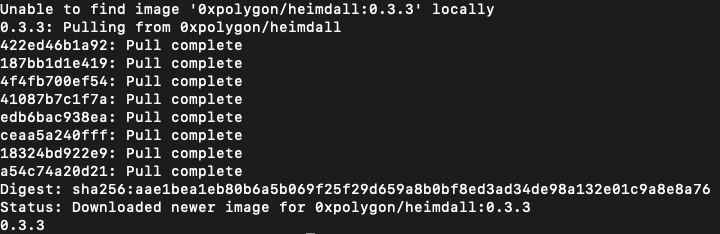
init command to set up our home directory. Set --chain-id to heimdallv2-80002 for Amoy or heimdallv2-137 for mainnet.
init command, your /mnt/data/heimdall directory should have some structure.
Now we need to make a few updates before starting Heimdall.
Download the genesis file and place it under HEIMDALL_HOME/config/genesis.json (replacing the one potentially already present there)
BUCKET_URL is https://storage.googleapis.com/amoy-heimdallv2-genesis/migrated_dump-genesis.json for amoyand https://storage.googleapis.com/mainnet-heimdallv2-genesis/migrated_dump-genesis.json for mainnet
Replace HEIMDALL_HOME with the actual path to your Heimdall home directory.
Please note that the genesis file size is around 50MB for amoy and 3GB for mainnet.Hence, the download might take a while, and it’s recommended to use a stable and fast connection. Then, you can customize the configs under
HEIMDALL_HOME/config (app.toml, client.toml, config.toml), based on your setup.
Templates for each supported network are available here
Make sure to configure your Ethereum and Bor connection parameters based on your infrastructure.
(Optional) Start Heimdall from snapshot
In case you want to start Heimdall from a snapshot,you can download it, and extract in the
data folder.
Examples of snapshots can be found here https://all4nodes.io/Polygon, and they are managed by the community.
e.g.:
Starting Heimdall
Before we start Heimdall, we’re going to create a docker network so that the containers can easily network with each other based on names.In order to create the network, run the following command:
catching_up field.If
catching_up is true, it means that Heimdall is not fully synced.
Starting Bor
At this point, you should have a node that’s successfully running Heimdall. You should be ready now to run Bor. Before we get started with Bor, we need to run the Heimdall rest server. This command will start a REST API that Bor uses to retrieve information from Heimdall. The command to start the server is:docker ps, you should see two containers running. Verify the REST server is responding:
genesis file for Bor specifically:
sha256 sum again for this file:
curl:
currentBlock that’s been synced and also the highestBlock that we’re aware of. If the node is already synced, we should get false.