> ## Documentation Index
> Fetch the complete documentation index at: https://docs.polygon.technology/llms.txt
> Use this file to discover all available pages before exploring further.
# Polygon Portal
> How to connect a wallet, bridge tokens, claim bridged assets, and add custom tokens using Polygon Portal.
**Polygon zkEVM is deprecated.** It is no longer recommended for new integrations and references on this page reflect historical context only. New chains and applications should use Polygon Chain or [Polygon CDK](/chain-development/cdk/index).
[Polygon Portal](https://portal.polygon.technology/) is an asset management interface for Polygon networks. It provides a unified dashboard for bridging, swapping, and monitoring tokens between Polygon Chain and Ethereum.
The native bridge supports trustless transfers between Polygon Chain and Ethereum. Third-party bridges and DEXs are also available within the same interface.
The bridge is operational on both testnet and mainnet.
Key capabilities:
* Faster transactions via the Socket Widget integration.
* Token swaps via Kyberswap, available directly through the portal.
* Third-party bridge and DEX support within the same UI.
* Refueling via the 0x API, which removes the need to separately acquire native tokens for gas.
The Refuel feature is limited to select tokens.
## Connect to Polygon Portal
1. Go to [https://portal.polygon.technology/](https://portal.polygon.technology/).
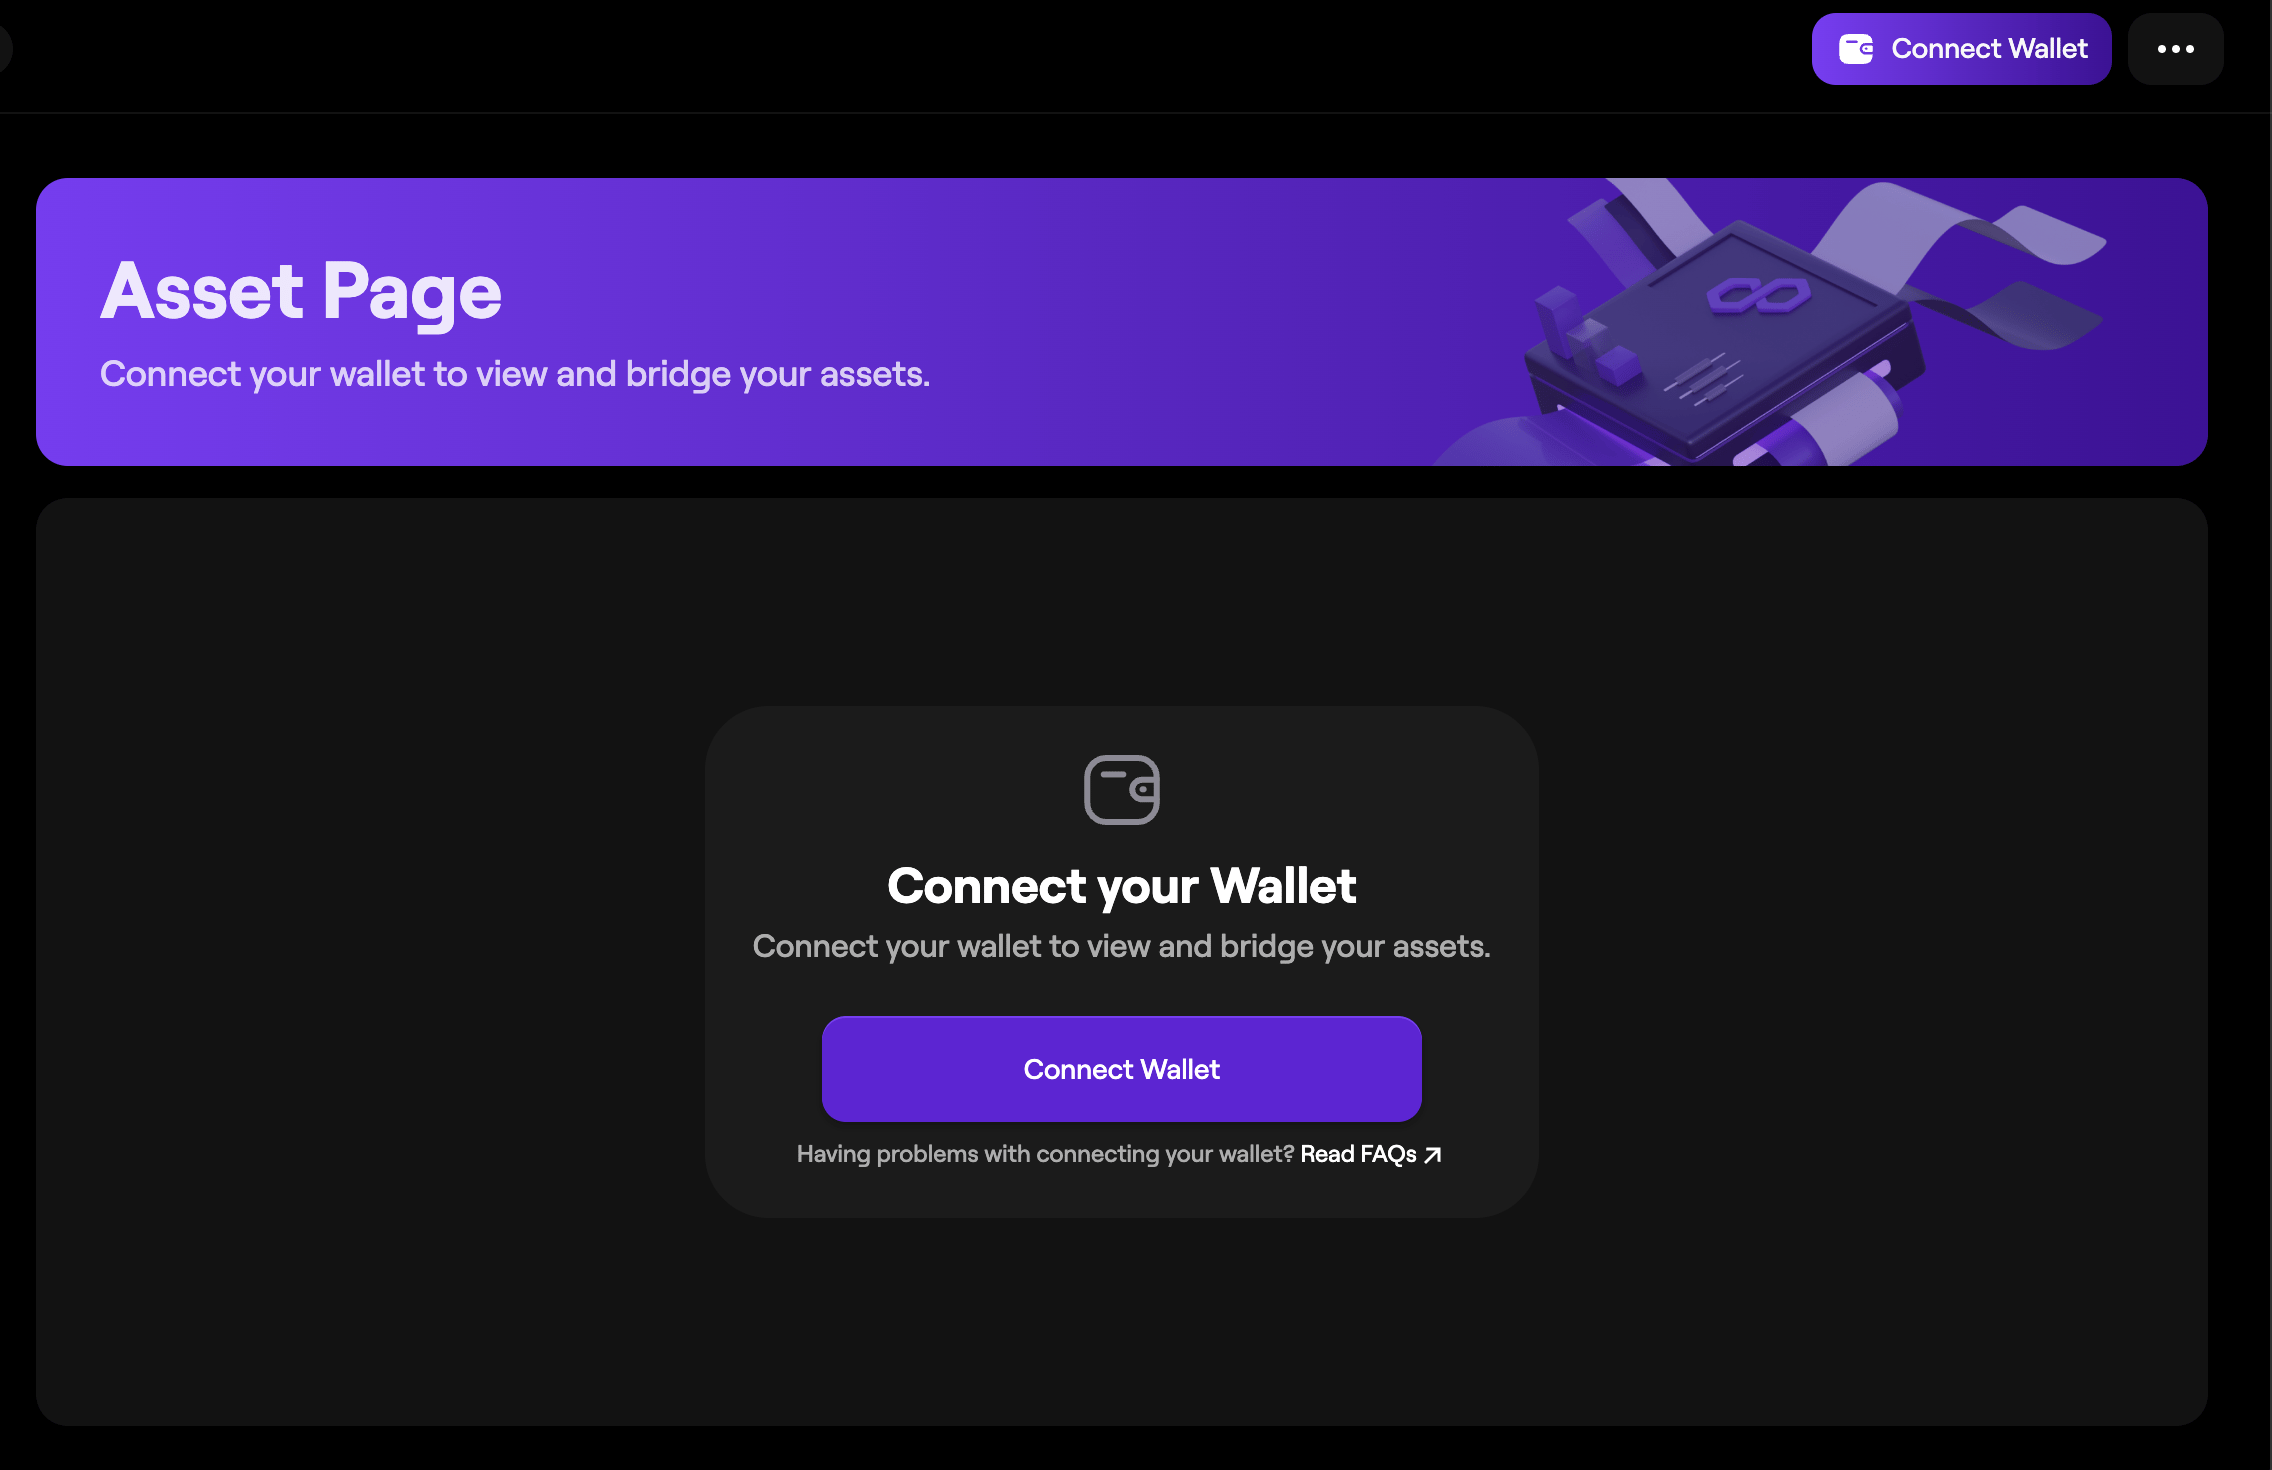
2. Click **Connect Wallet** to open the wallet connect window.
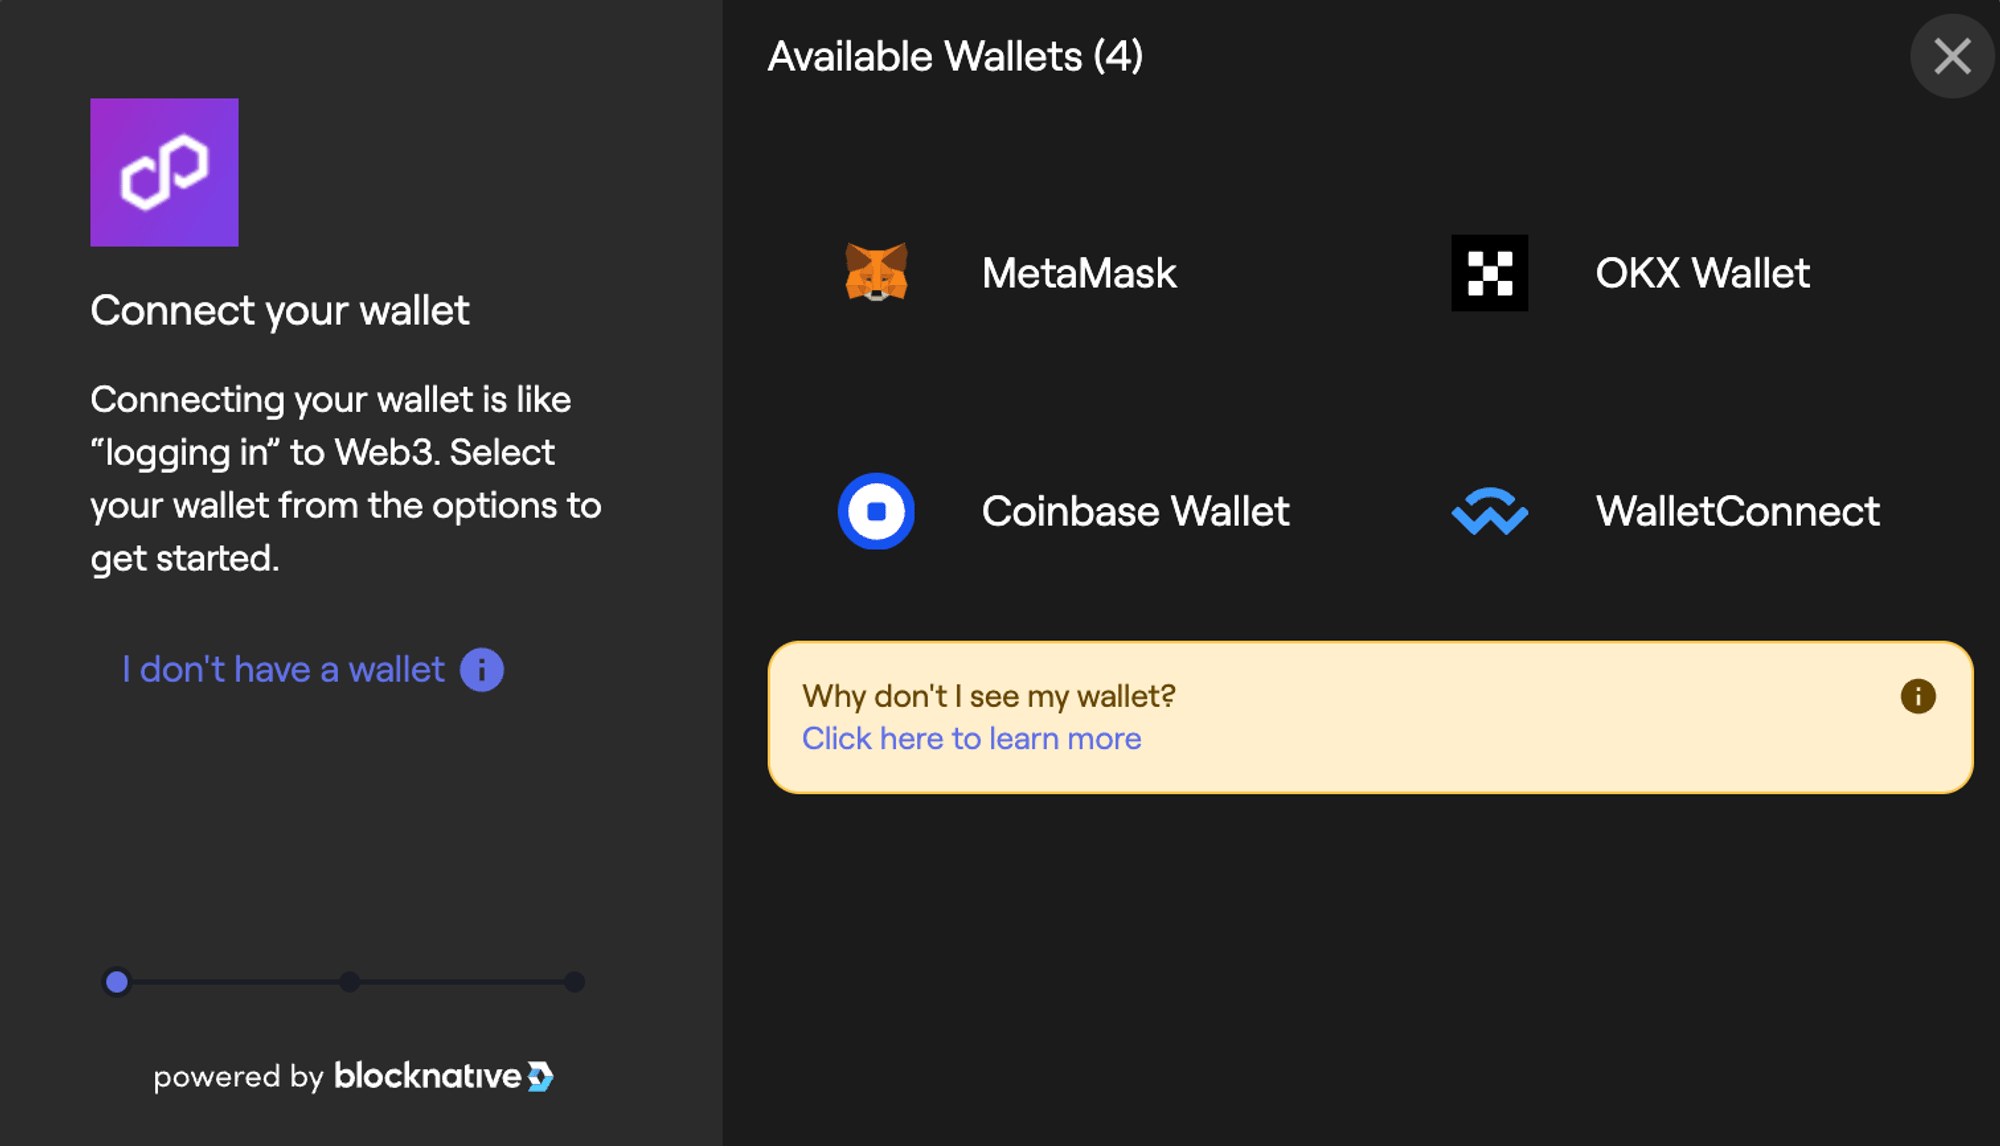
 3. Select your wallet. The portal supports MetaMask, Coinbase, OKX, and any wallet that supports WalletConnect.
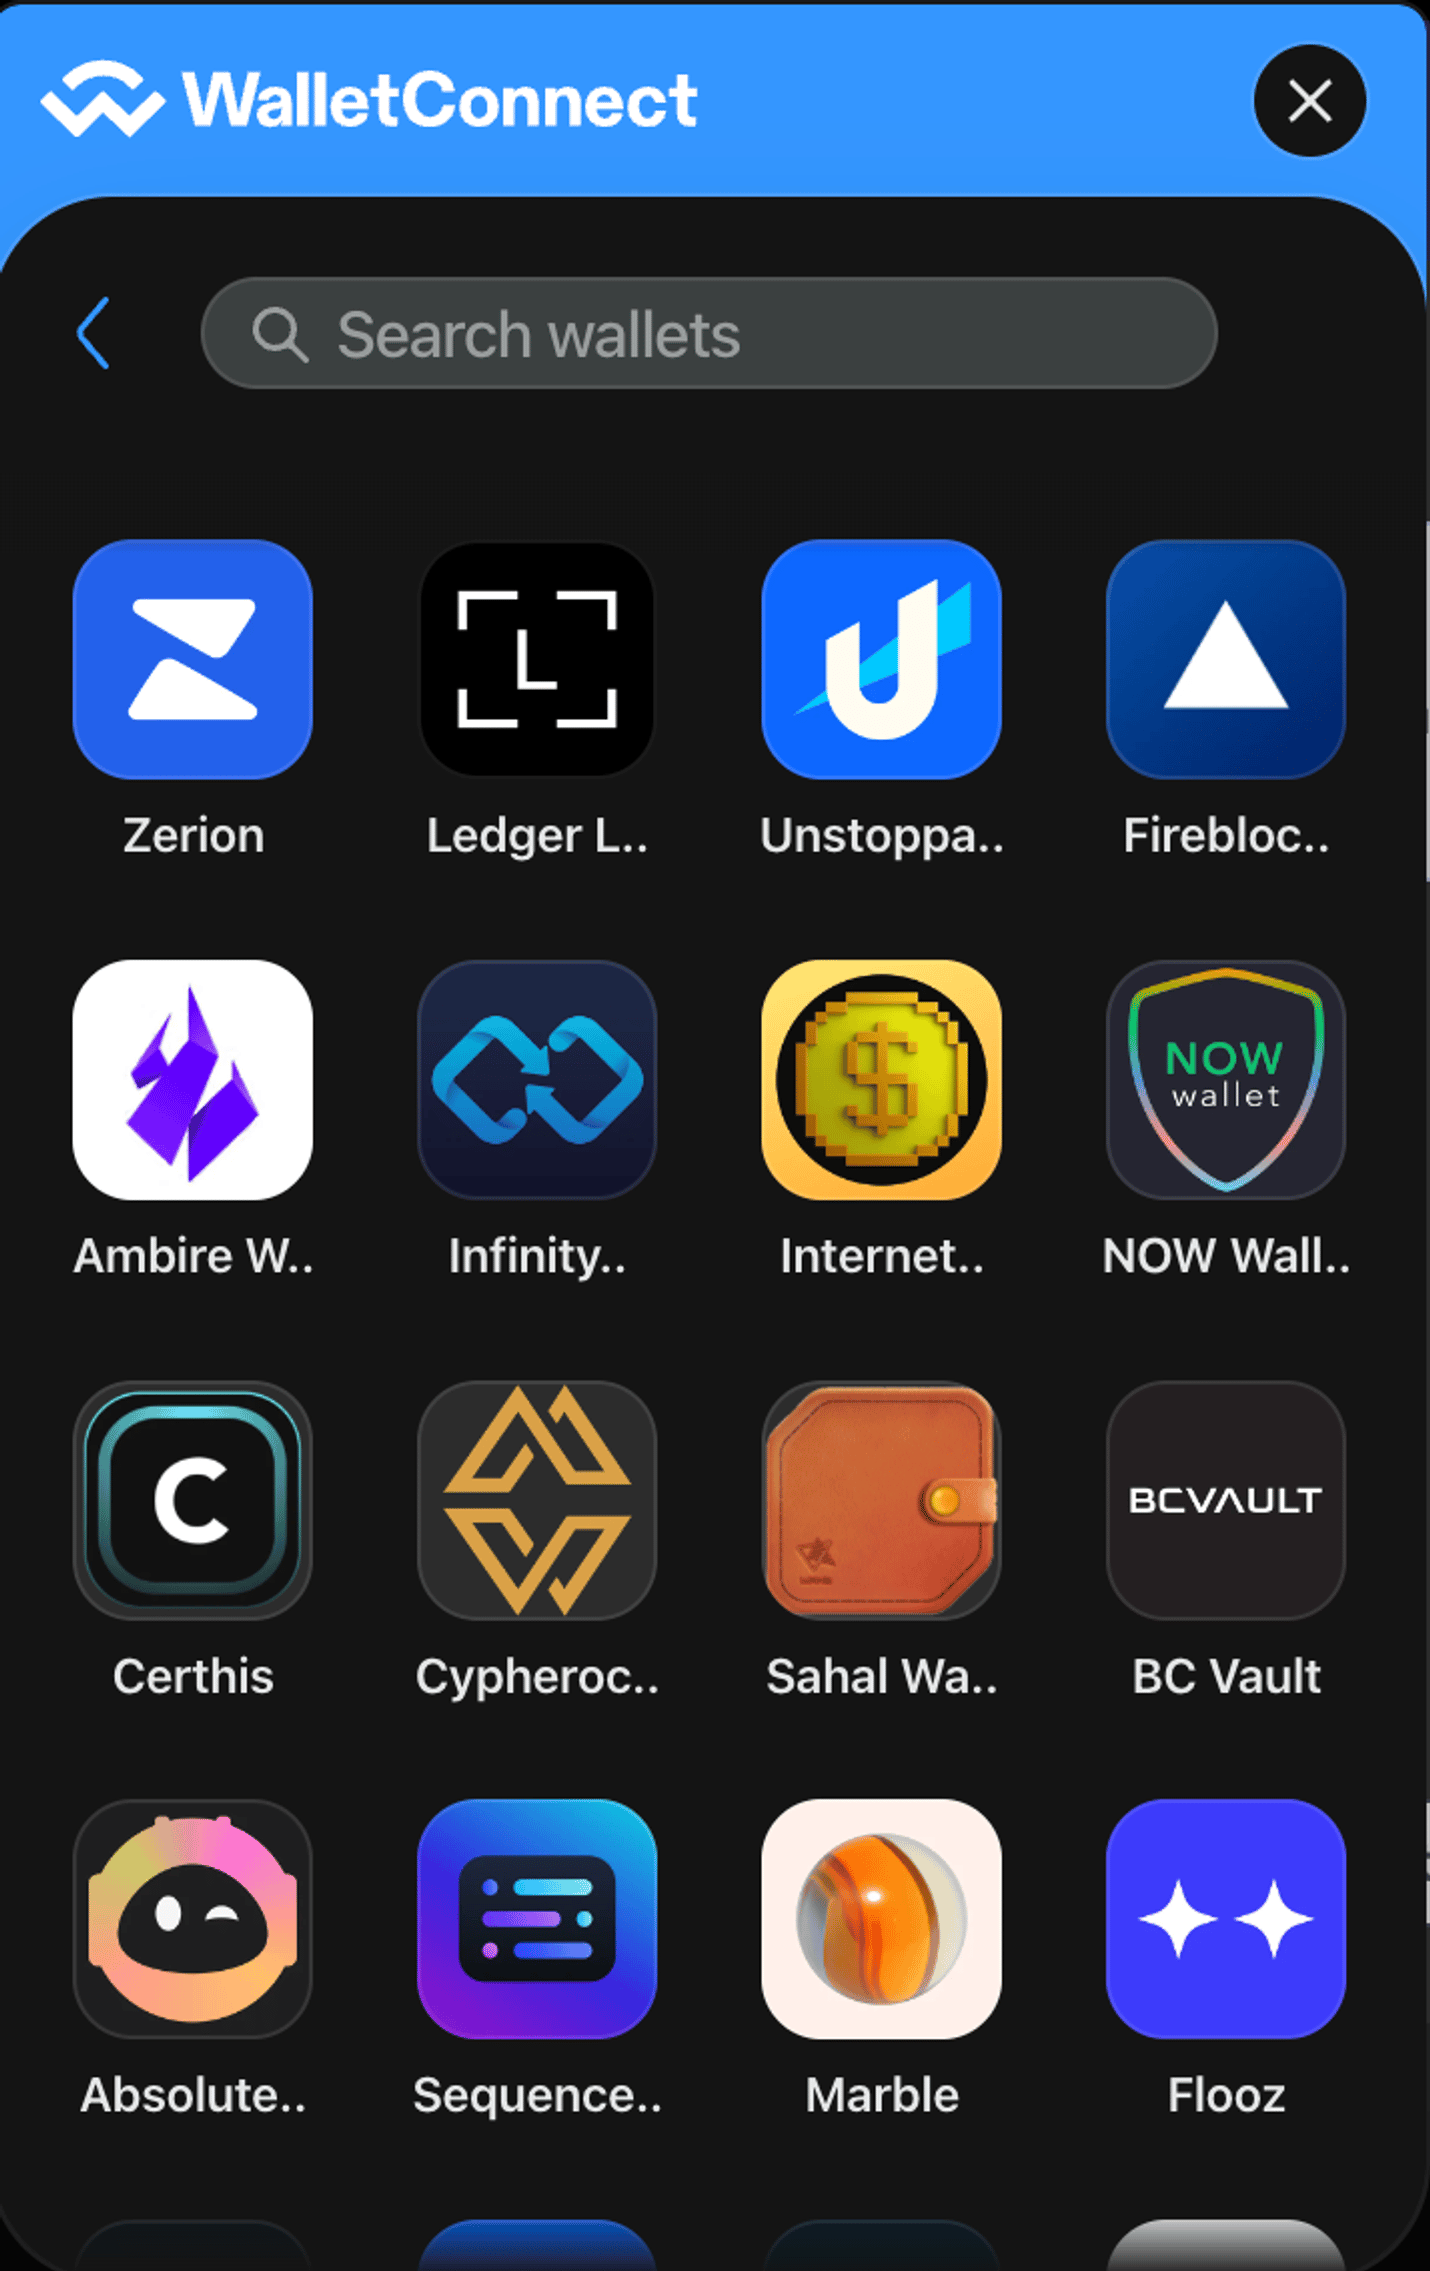 4. Approve the connection in your wallet. Your asset balances across Ethereum and Polygon chains will appear in the dashboard.
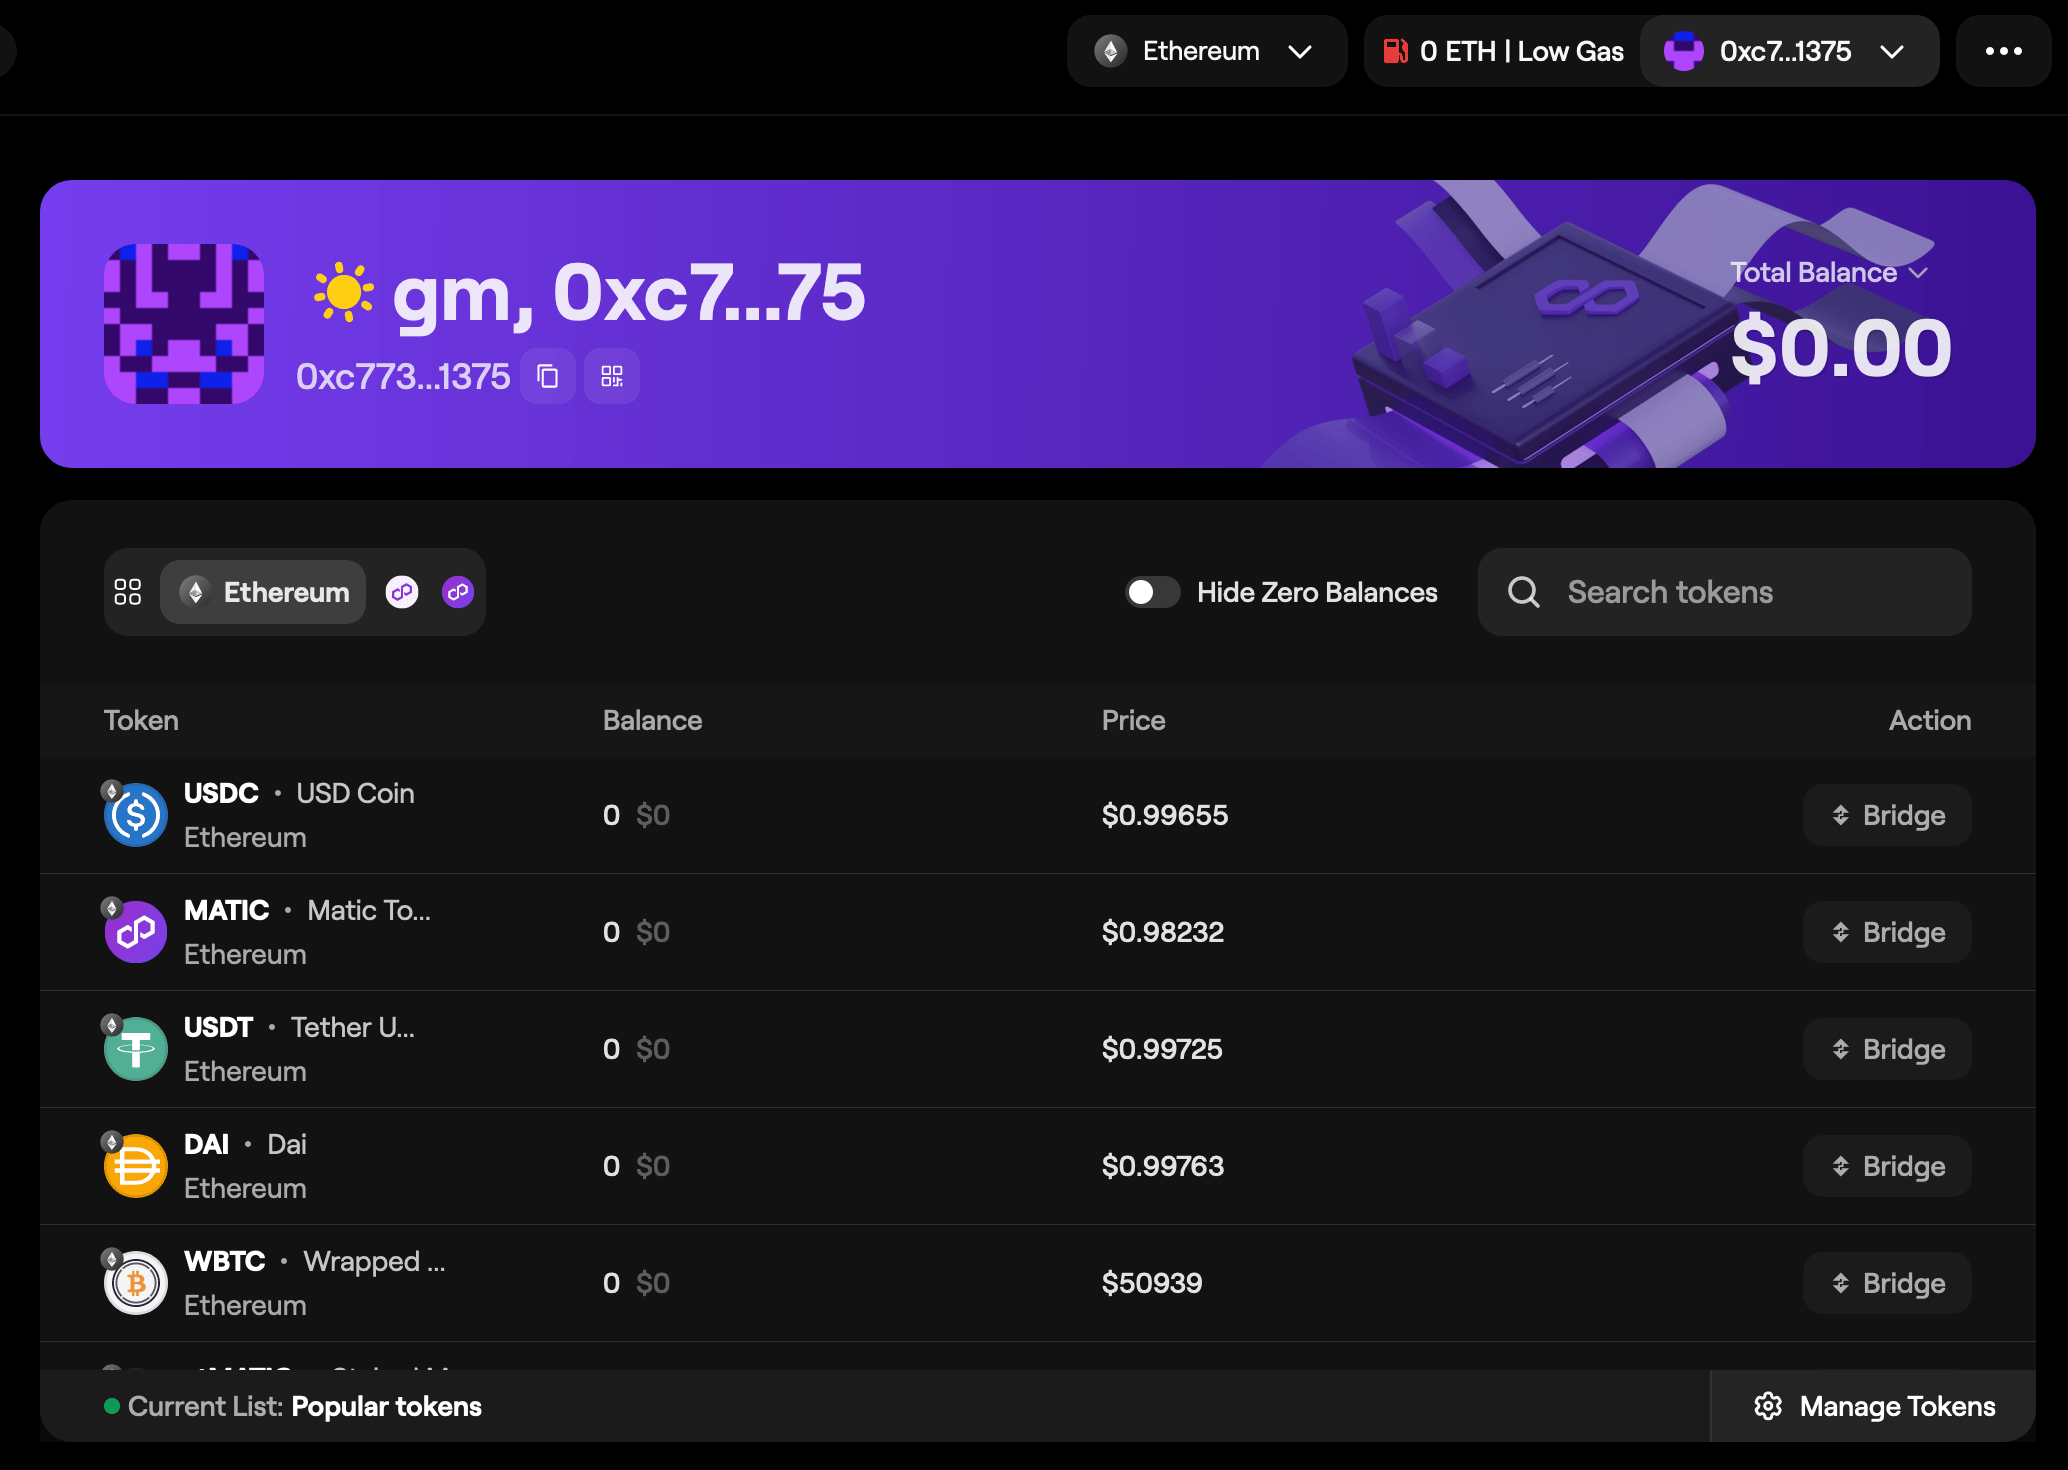 ## Transfer funds from Ethereum to Polygon chains
1. Navigate to [Polygon Portal](https://portal.polygon.technology/) and select **Bridge your Asset** on the main page, or choose **Bridge** from the sidebar.
## Transfer funds from Ethereum to Polygon chains
1. Navigate to [Polygon Portal](https://portal.polygon.technology/) and select **Bridge your Asset** on the main page, or choose **Bridge** from the sidebar.
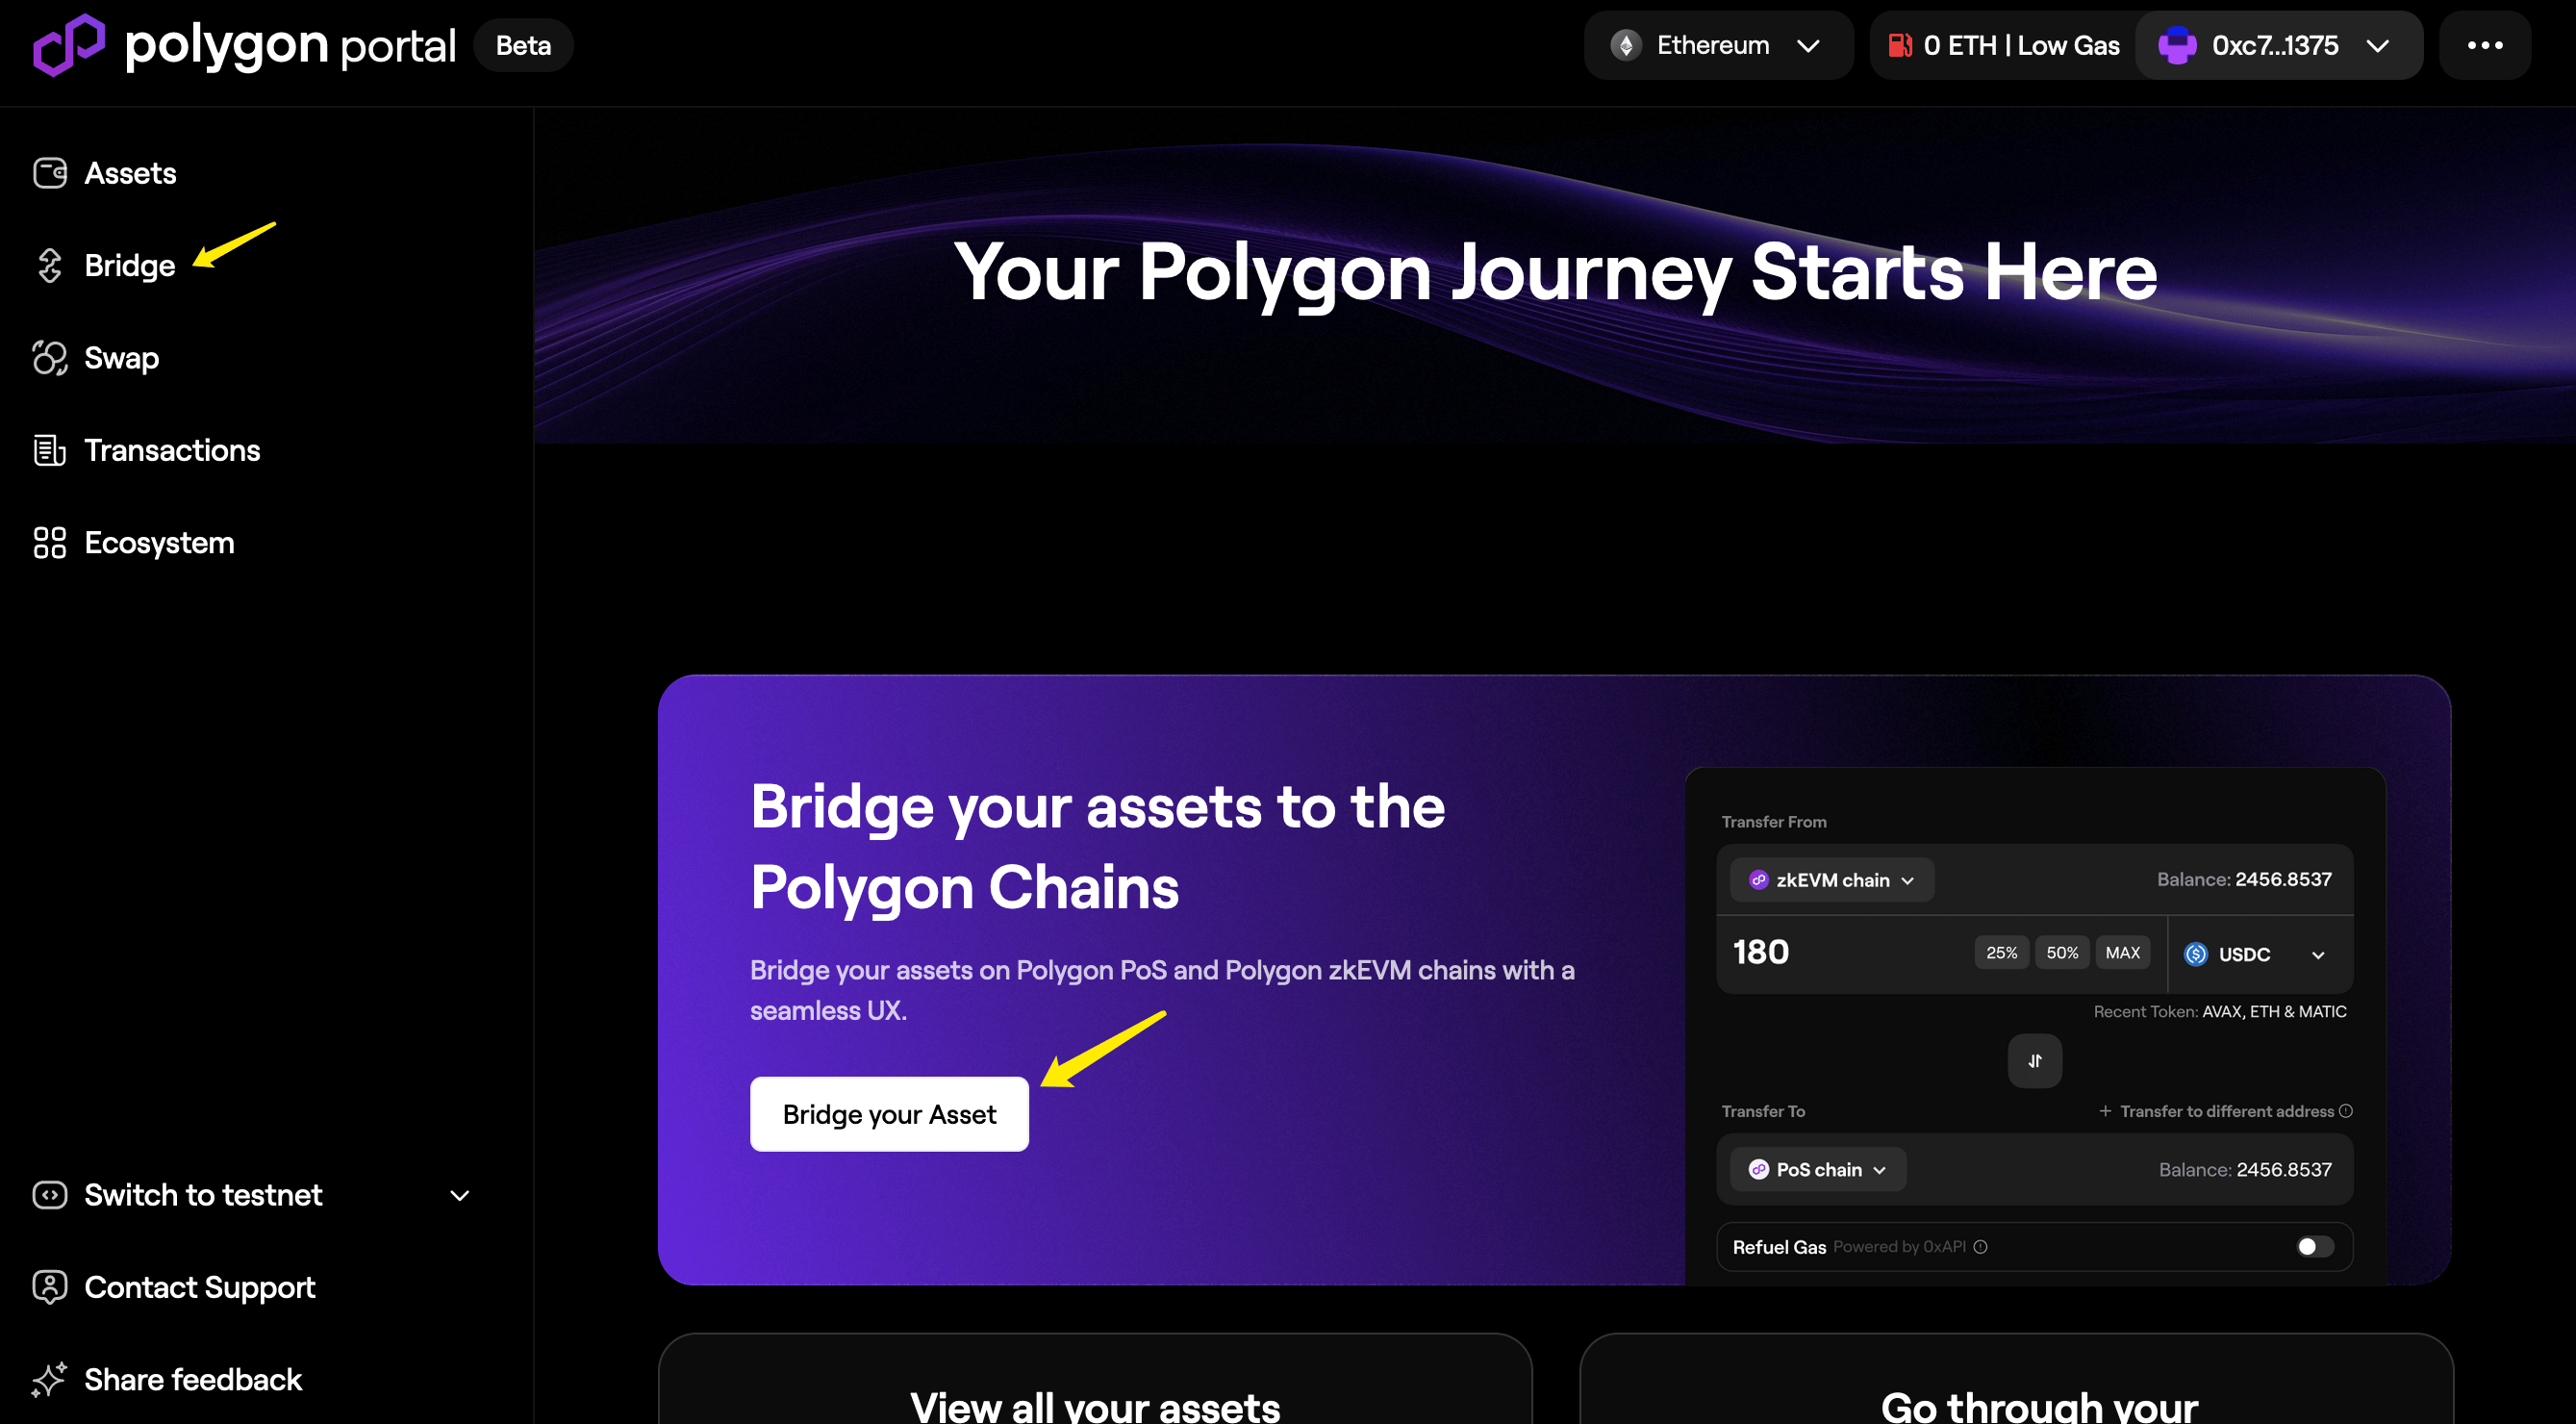 2. In the bridge widget, select your source and destination chains.
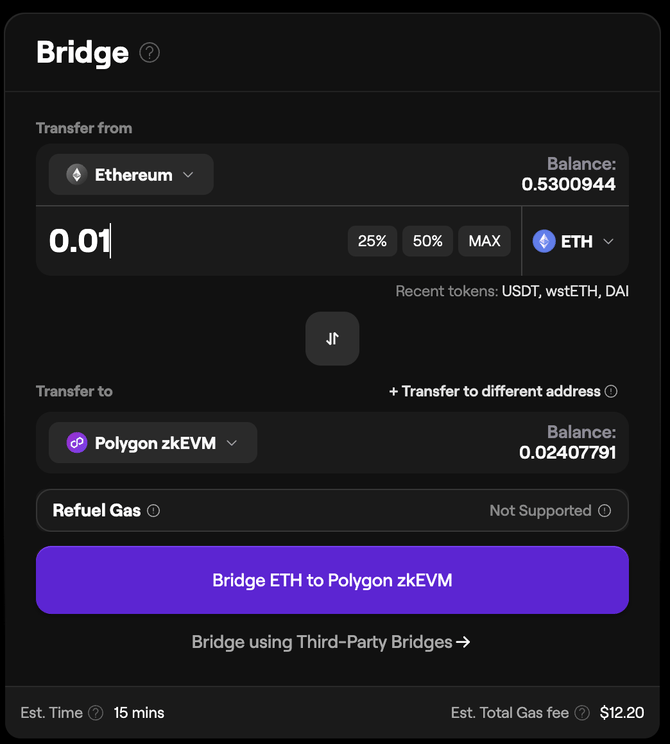 3. Select the token you want to bridge from the drop-down list.
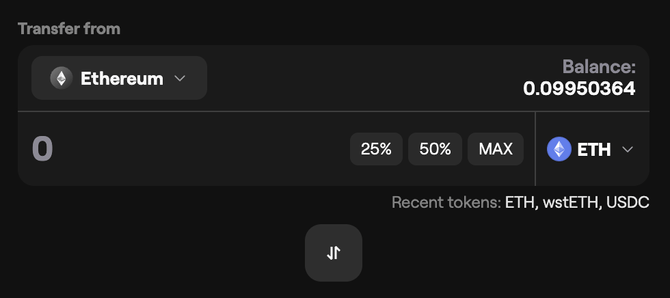
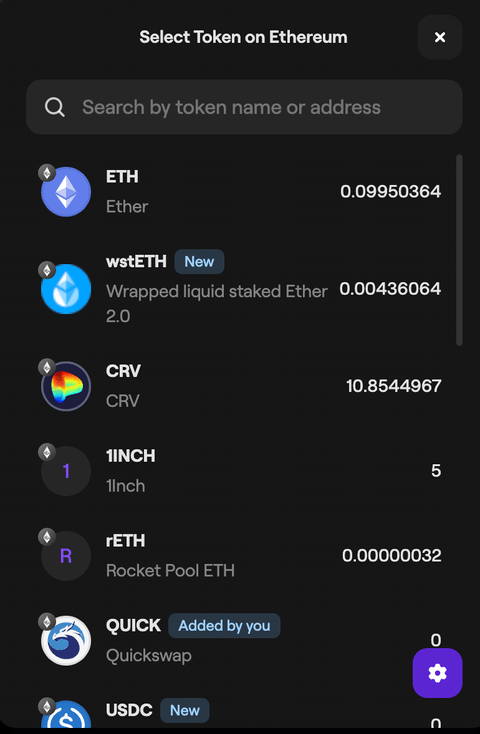 4. Enter the transfer amount manually or select a percentage of your current balance.
You can also transfer tokens to a different wallet address by selecting that option in the bridge widget.
5. Confirm the transaction in your wallet. An estimated arrival time for the funds will appear.
4. Enter the transfer amount manually or select a percentage of your current balance.
You can also transfer tokens to a different wallet address by selecting that option in the bridge widget.
5. Confirm the transaction in your wallet. An estimated arrival time for the funds will appear.
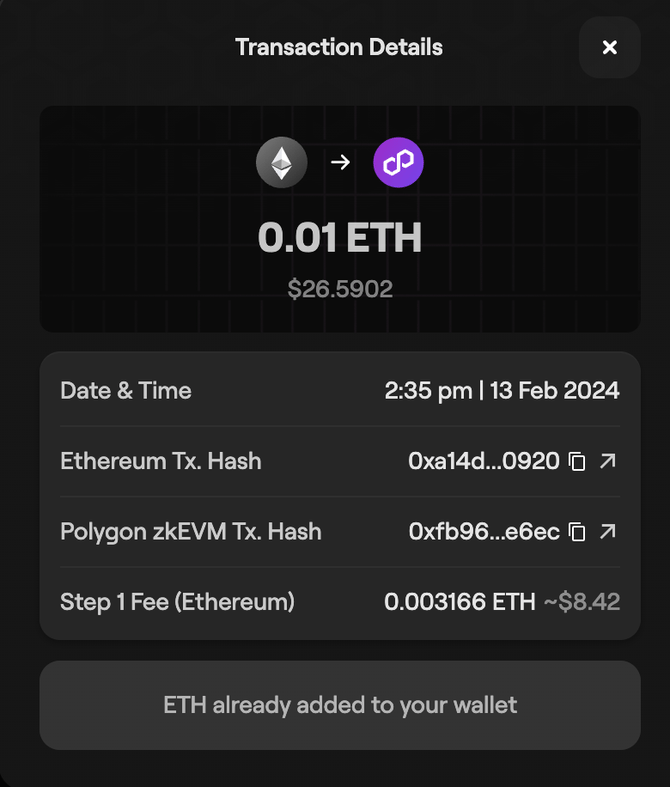
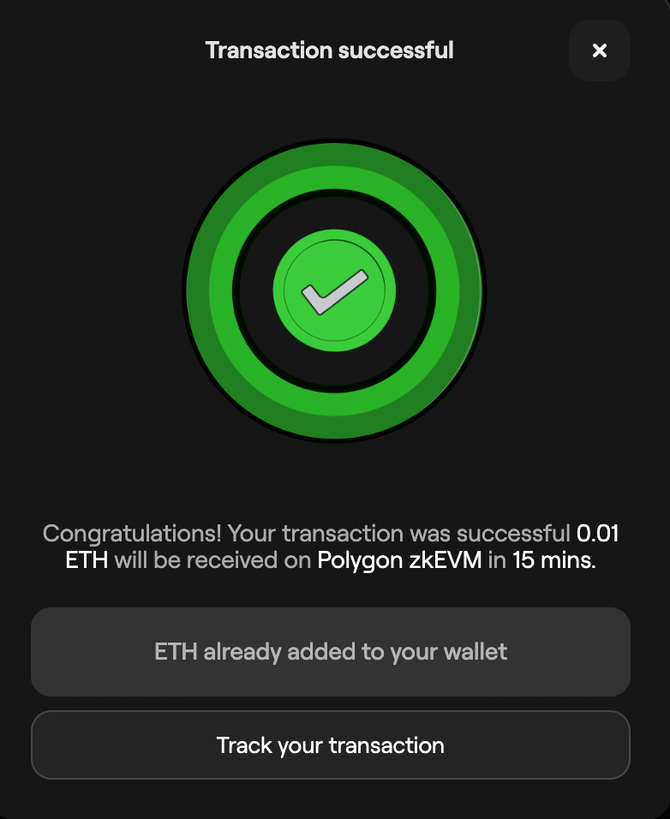 6. Check transaction status by selecting **Transactions** from the sidebar.

 ## Claim bridged tokens on Ethereum
### MATIC tokens
1. After bridging MATIC from Polygon Chain to Ethereum, select **Initiate Claim** on the transaction record once your tokens are ready.
## Claim bridged tokens on Ethereum
### MATIC tokens
1. After bridging MATIC from Polygon Chain to Ethereum, select **Initiate Claim** on the transaction record once your tokens are ready.
 2. Approve the transaction in your wallet, then select **Claim Tokens**.
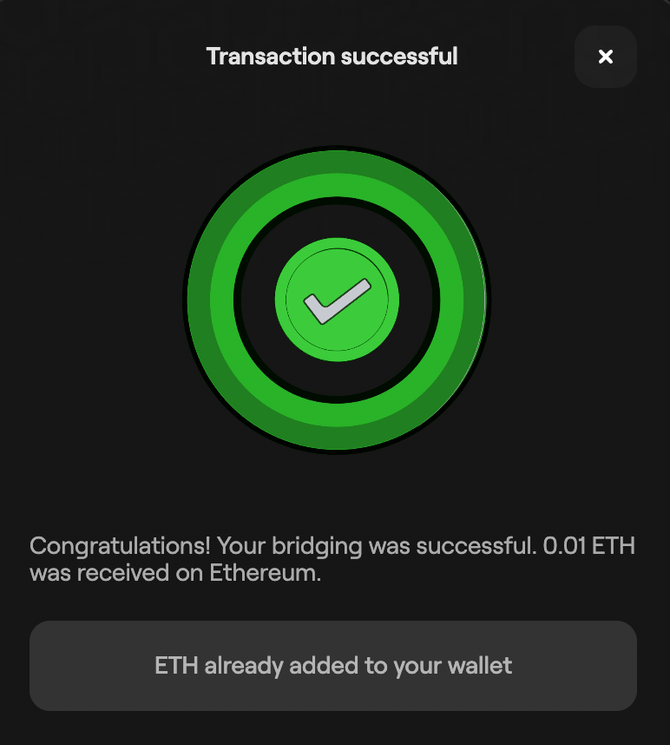
 3. Funds will appear in your wallet once the claim transaction is confirmed.
### ETH and custom tokens
1. Tokens transferred from Polygon zkEVM to Ethereum are generally available to claim within 30 to 45 minutes. Track status on the **Transactions** page.
3. Funds will appear in your wallet once the claim transaction is confirmed.
### ETH and custom tokens
1. Tokens transferred from Polygon zkEVM to Ethereum are generally available to claim within 30 to 45 minutes. Track status on the **Transactions** page.
 2. The **Claim Tokens** button appears once your tokens are ready.
 3. Sign the transaction in your wallet when prompted.
 4. Once signed, the bridged tokens are sent to your wallet.
 ## Add custom tokens to Polygon Portal
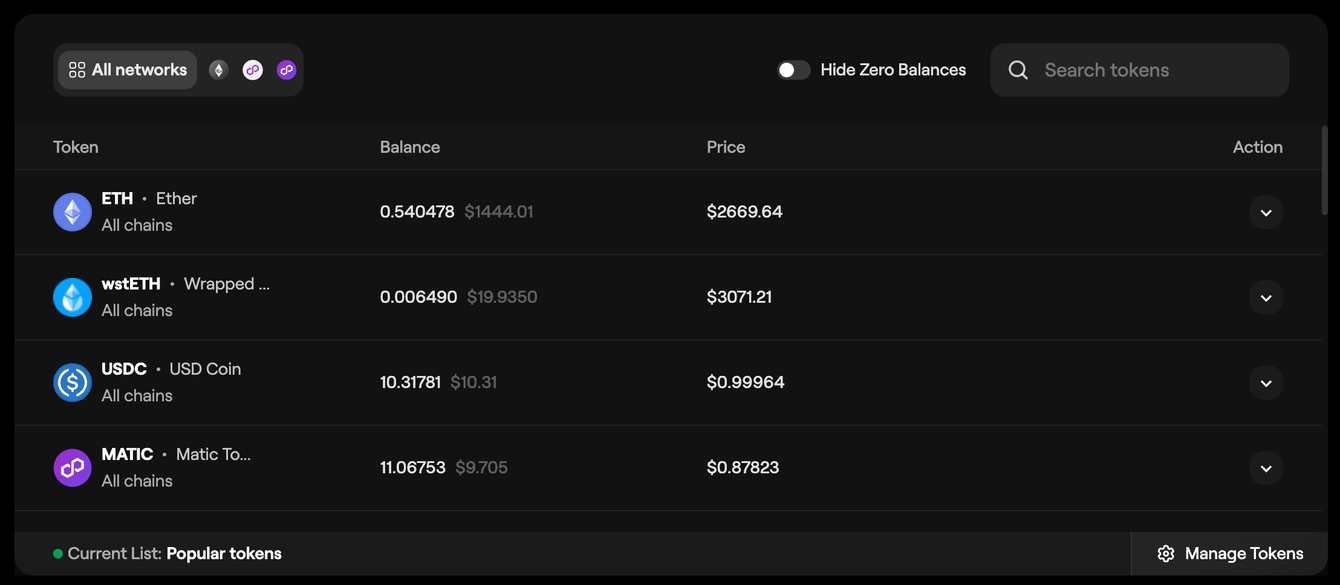
1. Click **Manage Tokens** in the bottom-right corner of the dashboard and search by token name.
## Add custom tokens to Polygon Portal
1. Click **Manage Tokens** in the bottom-right corner of the dashboard and search by token name.
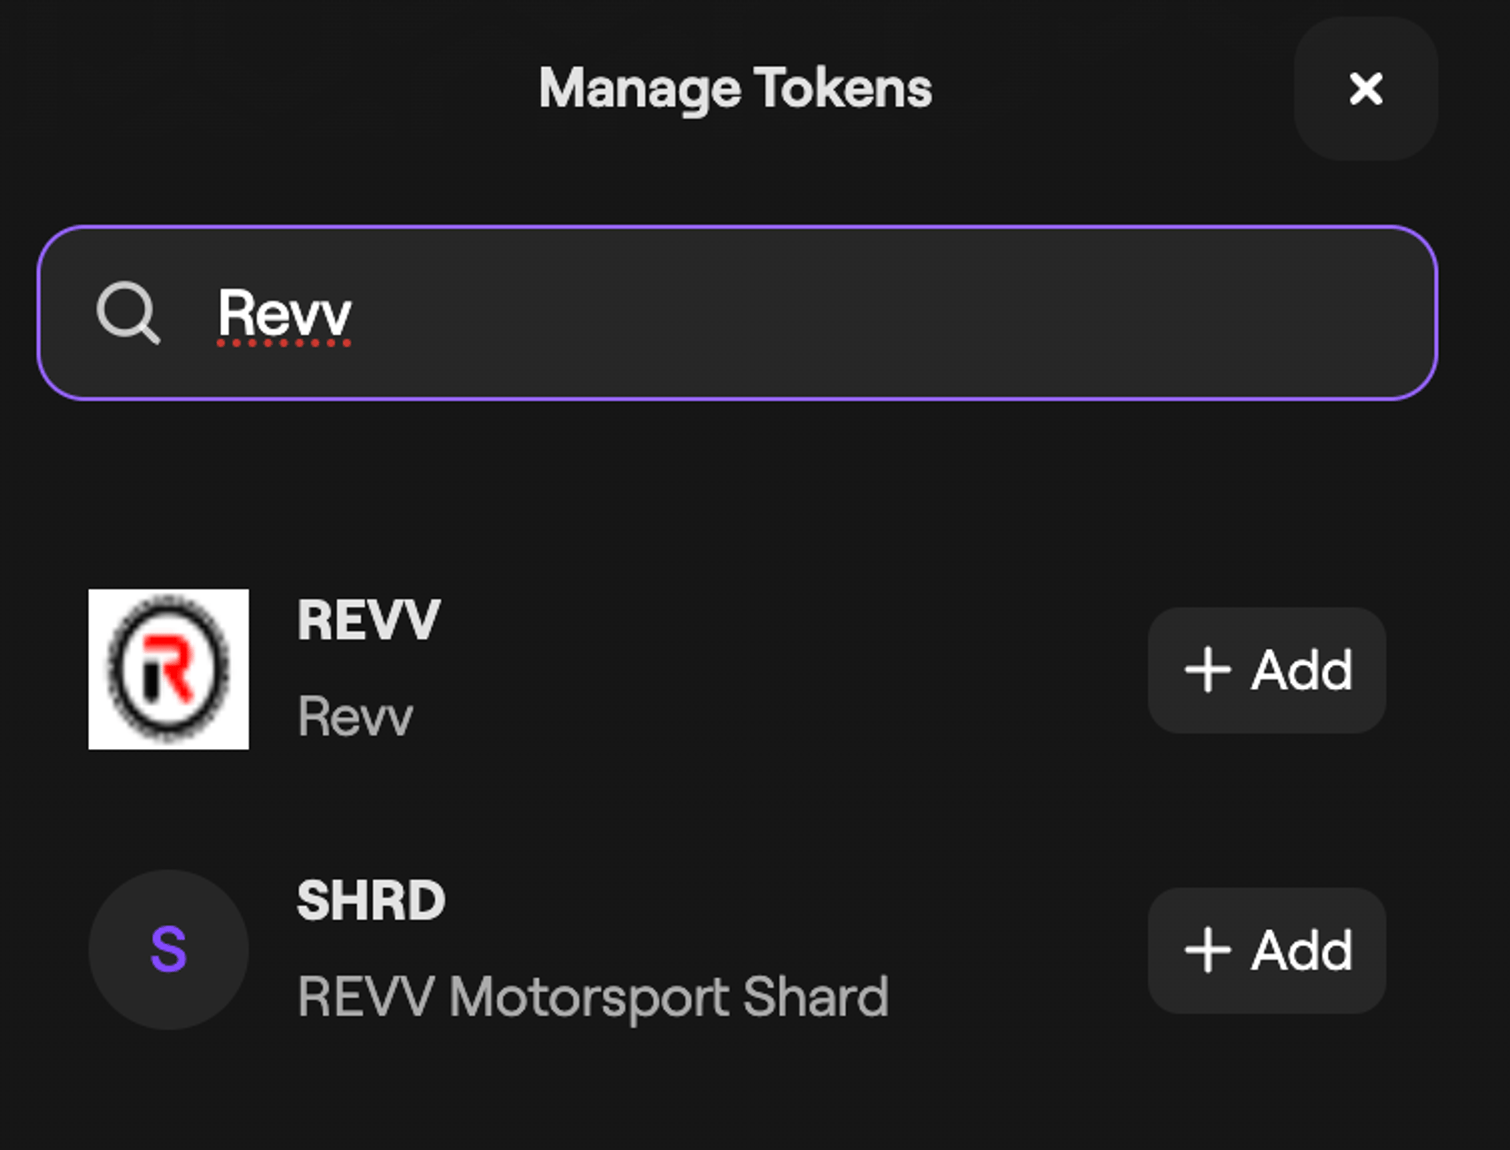 2. If the token appears, select **Add**.
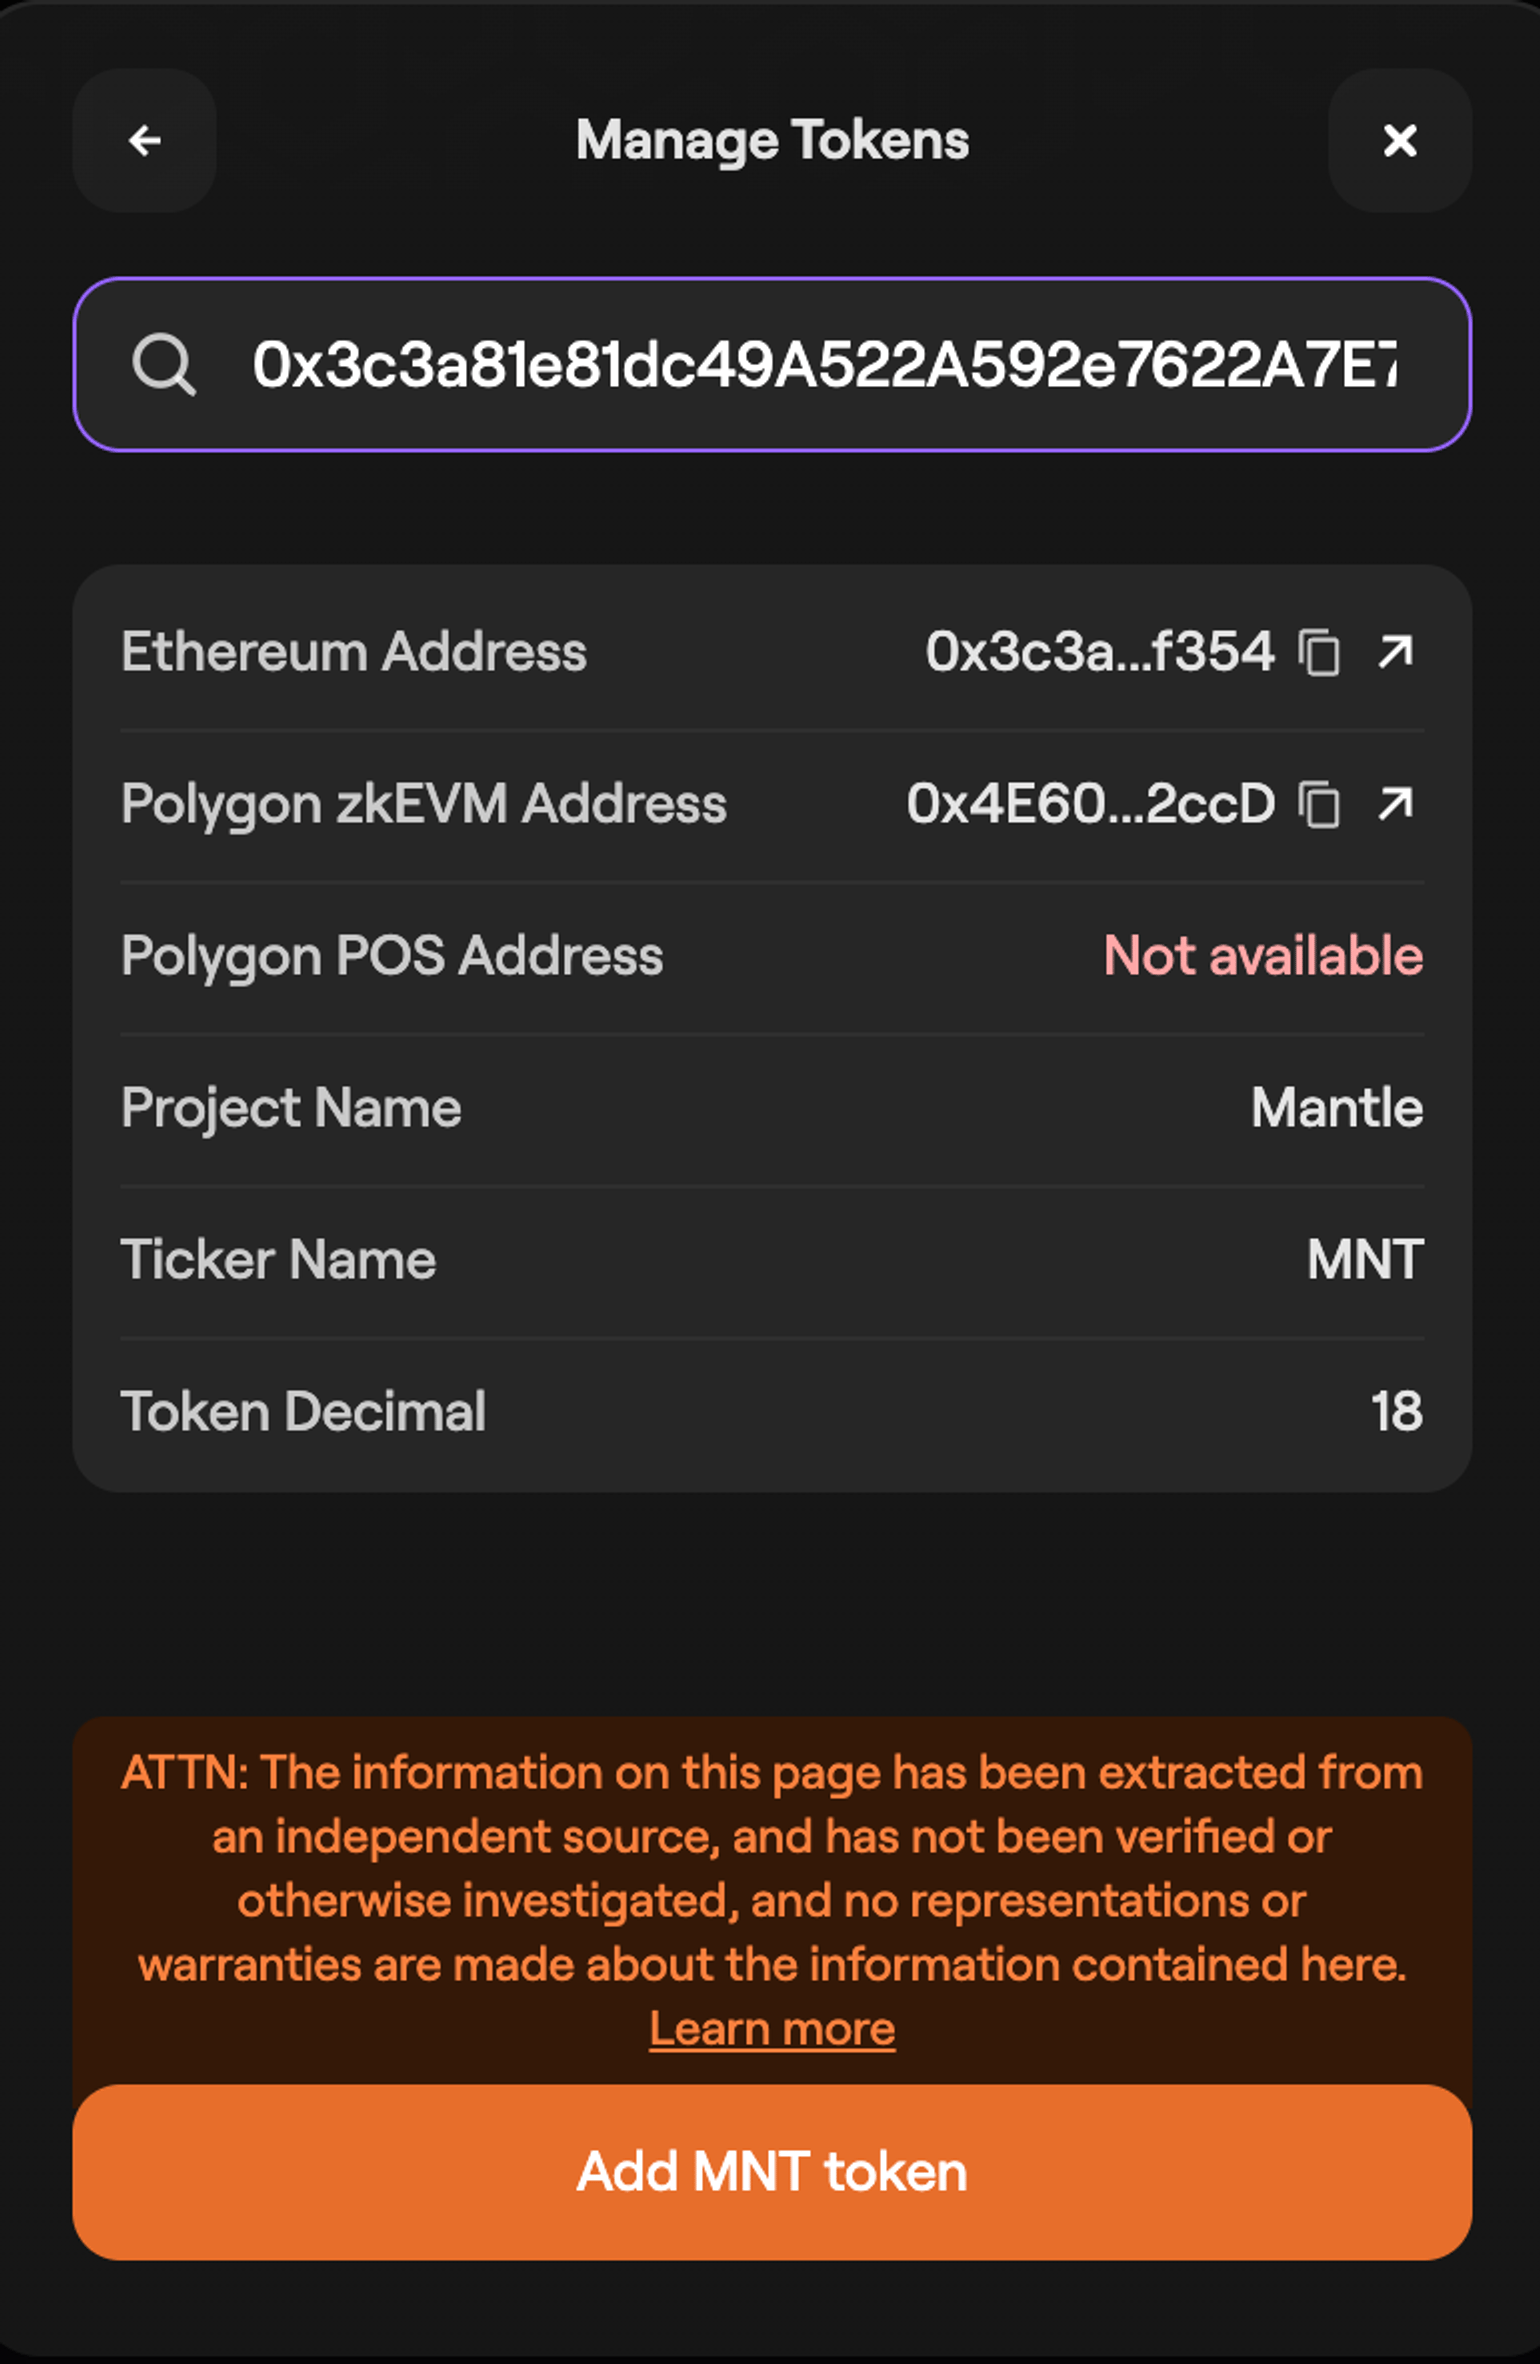
3. If the token does not appear in search results, select the **+** in the bottom-right of the **Manage tokens** window to add it manually.
2. If the token appears, select **Add**.
3. If the token does not appear in search results, select the **+** in the bottom-right of the **Manage tokens** window to add it manually.
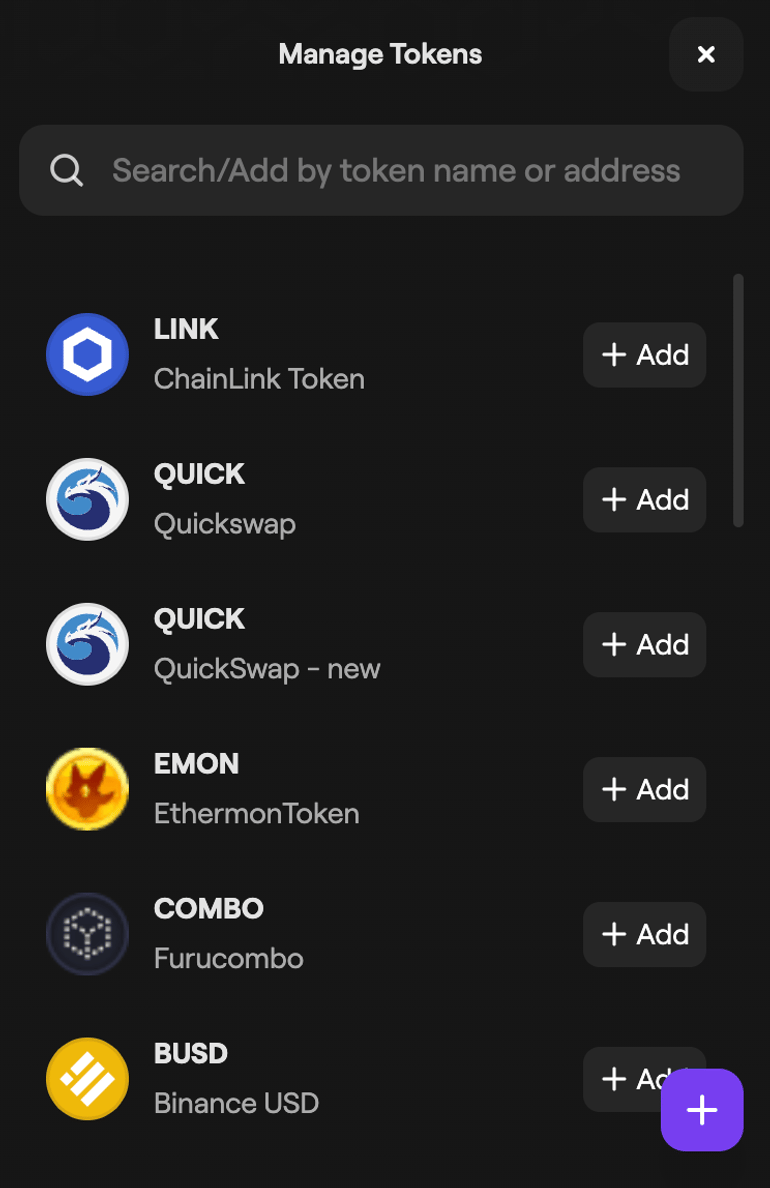 4. Enter the token contract address.
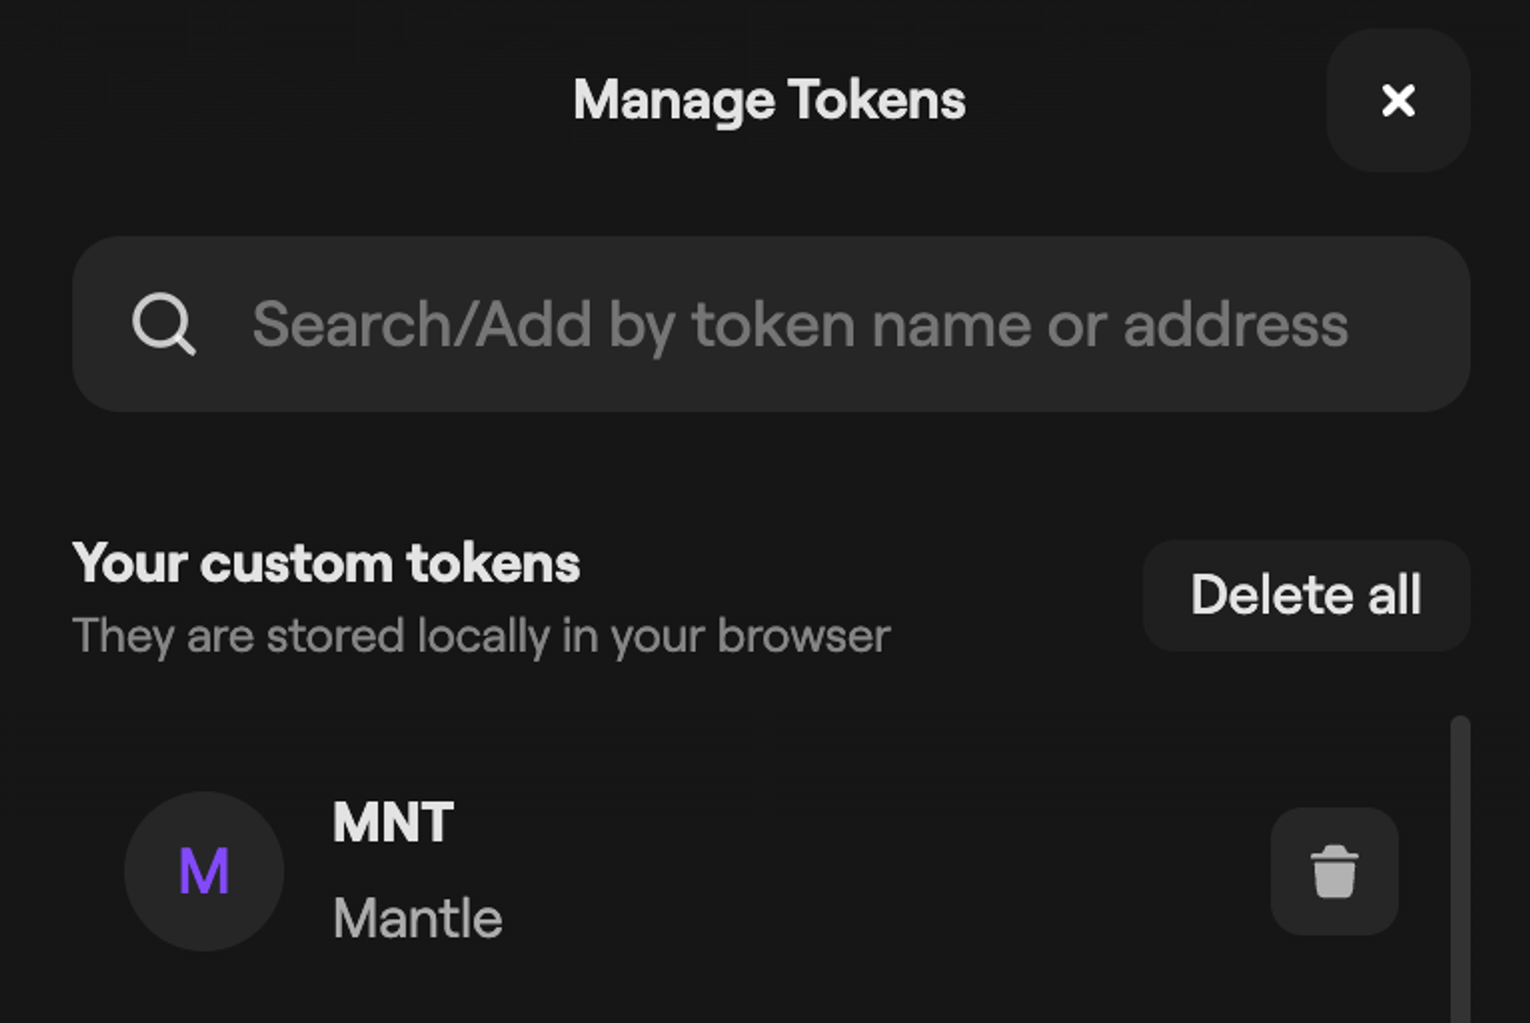
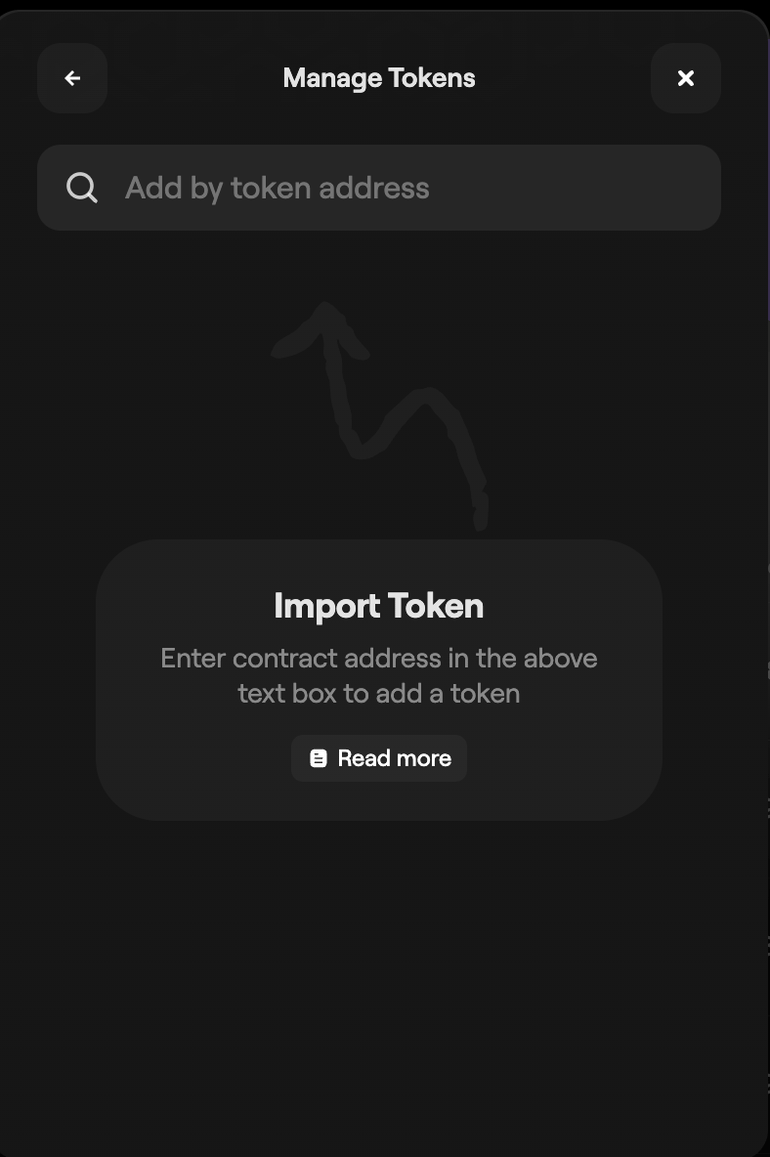 5. If the address is valid, an option to add the token appears at the bottom of the window. Select it to add the token to your dashboard.