> ## Documentation Index
> Fetch the complete documentation index at: https://docs.polygon.technology/llms.txt
> Use this file to discover all available pages before exploring further.
# Add Polygon network
> How to add Polygon Chain to MetaMask using ChainList, Polygonscan, or manual entry.
**Polygon zkEVM is deprecated.** It is no longer recommended for new integrations and references on this page reflect historical context only. New chains and applications should use Polygon Chain or [Polygon CDK](/chain-development/cdk/index).
Please view the third-party content disclaimer [here](https://github.com/0xPolygon/polygon-docs/blob/main/CONTENT_DISCLAIMER.md).
To send transactions and track assets on Polygon networks using MetaMask, you need to add the network configuration to the wallet. Three methods are available: ChainList, Polygonscan, or manual entry.
## ChainList
1. Navigate to the ChainList page for the network you want to add:
* [Polygon Chain testnet (Amoy)](https://chainlist.org/chain/80002)
* [Polygon Chain mainnet](https://chainlist.org/chain/137)
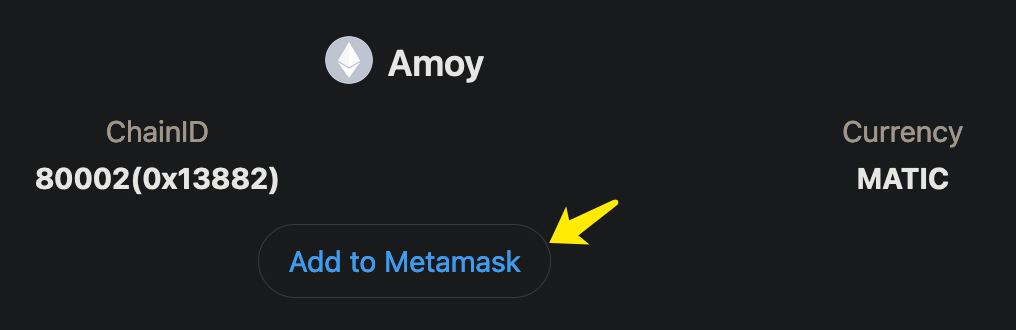
2. Select **Add to Metamask**. Your MetaMask wallet opens.
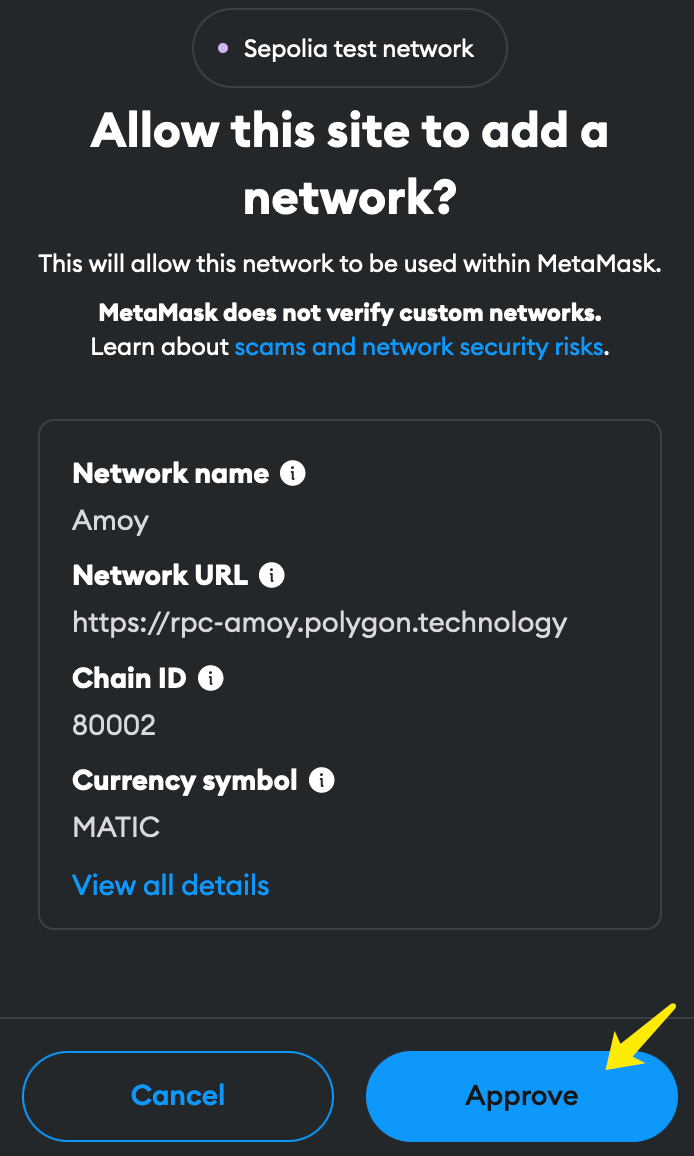
 3. Select **Approve**. ChainList adds the network RPC URL, chain ID, and other configuration to MetaMask.
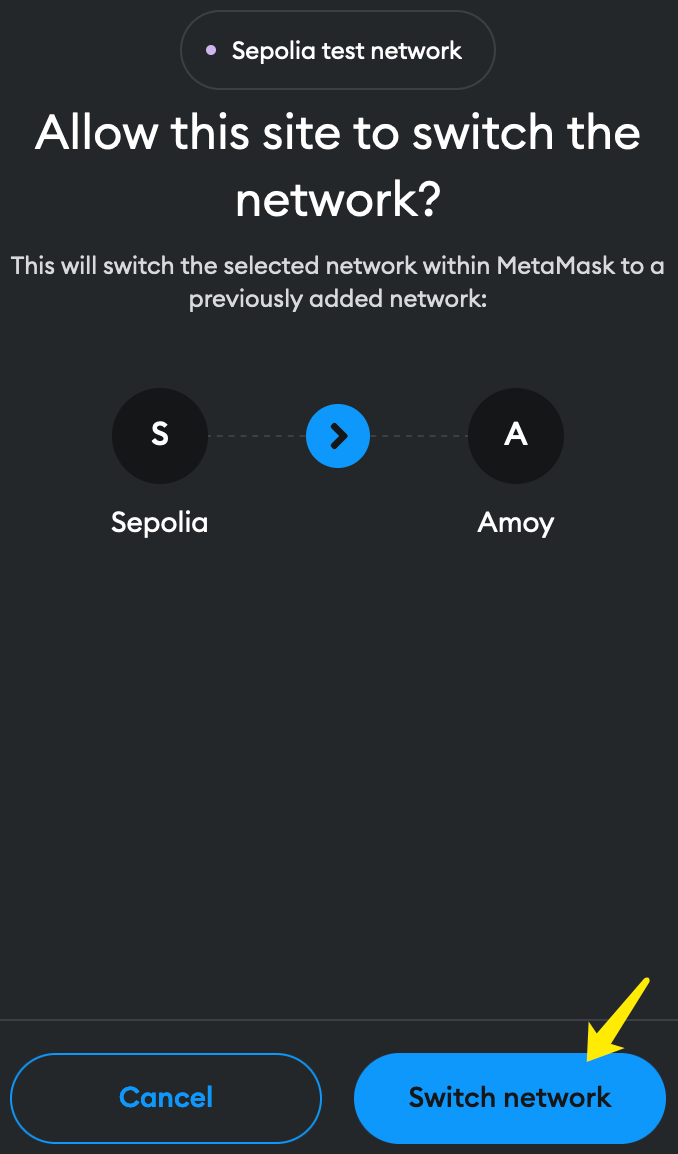
 4. Select **Switch network** to activate the network in MetaMask.
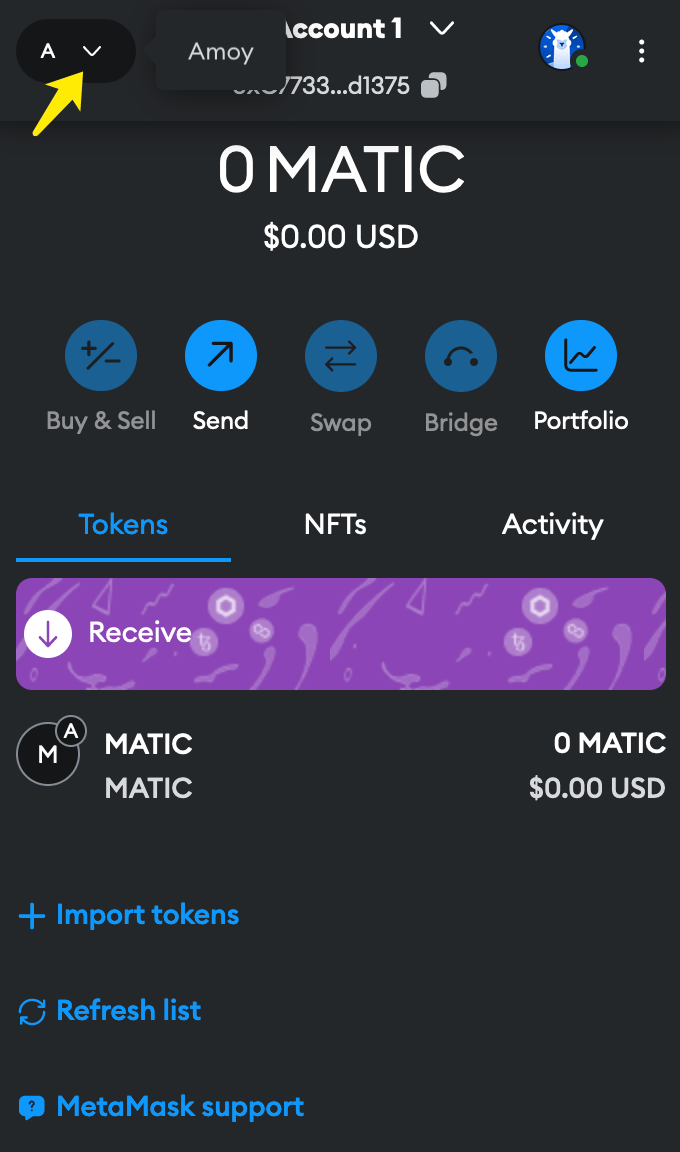
 5. Your balance on the selected network appears in MetaMask. Use the network drop-down in the top-left corner to switch between networks.
 ## Polygonscan
1. Go to [polygonscan.com](https://polygonscan.com/).
2. Select the network from the drop-down list in the top-right corner of the home page.
## Polygonscan
1. Go to [polygonscan.com](https://polygonscan.com/).
2. Select the network from the drop-down list in the top-right corner of the home page.
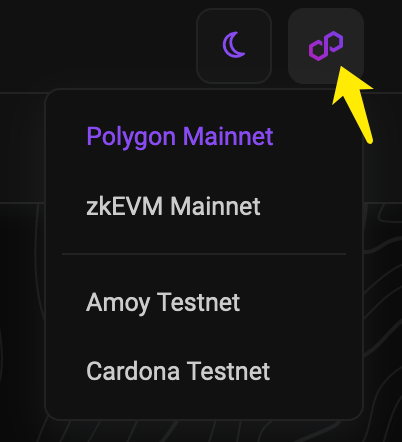 3. The explorer reloads for the selected network.
4. Scroll to the bottom of the page and select the button that adds the network to MetaMask. For Amoy testnet this button is labeled **Add Polygon Amoy Network**.
3. The explorer reloads for the selected network.
4. Scroll to the bottom of the page and select the button that adds the network to MetaMask. For Amoy testnet this button is labeled **Add Polygon Amoy Network**.
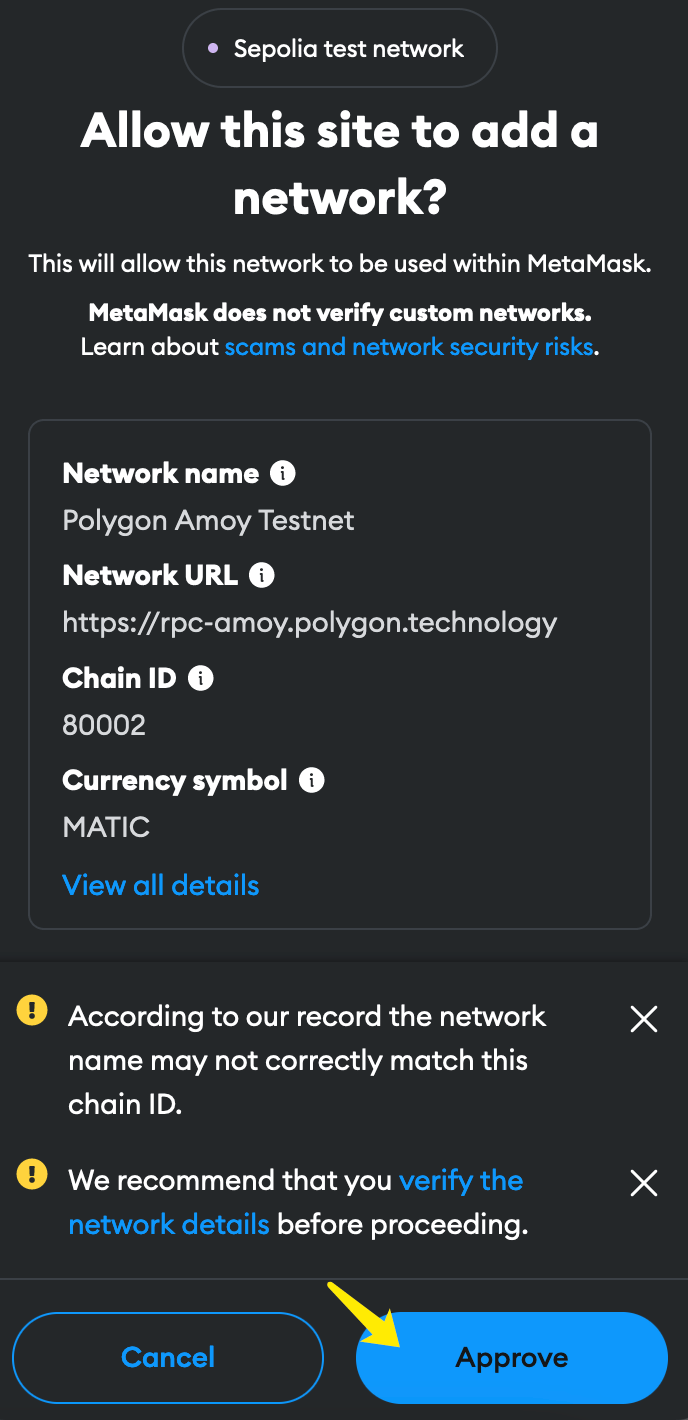
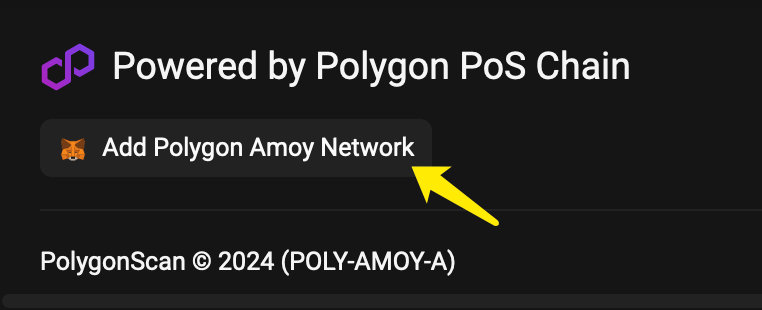 5. Select **Approve** in the MetaMask prompt.
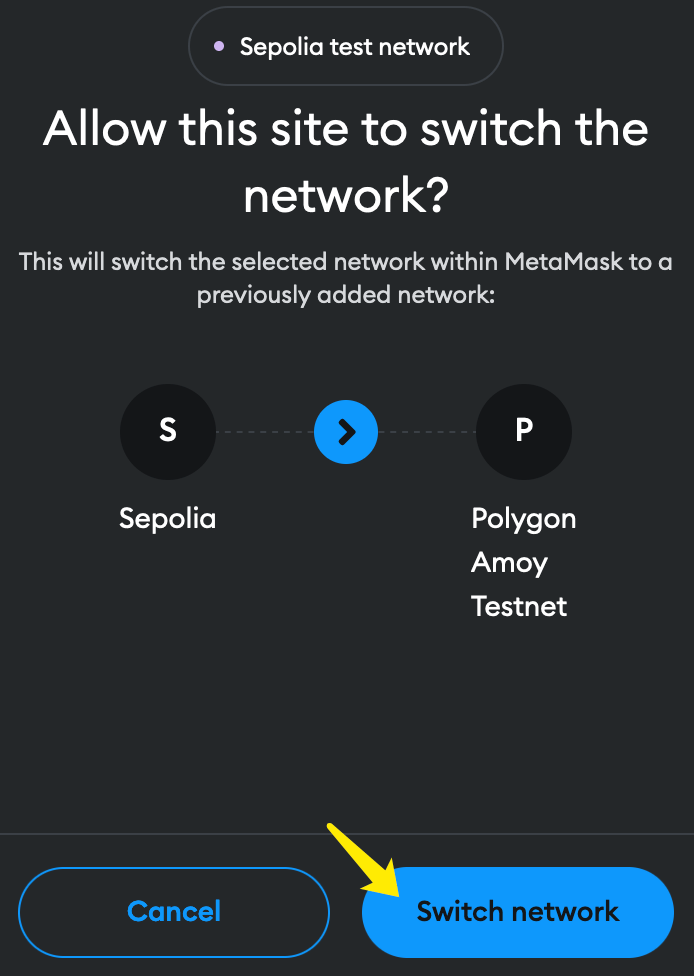
 6. Select **Switch network**.
 7. Your balance on the selected network appears in MetaMask.
## Add a network manually
Follow the [MetaMask guide to add a custom network](https://support.metamask.io/networks-and-sidechains/managing-networks/how-to-add-a-custom-network-rpc/) using the network parameters below.
| Network | RPC URL | Chain ID | Native token | Explorer URL |
| :-------------------: | :------------------------------------------------------------------------: | :------: | :----------: | :----------------------------------------------------------: |
| Polygon Chain mainnet | [https://polygon-mainnet.infura.io](https://polygon-mainnet.infura.io) | 137 | MATIC | [https://polygonscan.com/](https://polygonscan.com/) |
| Amoy (testnet) | [https://rpc-amoy.polygon.technology](https://rpc-amoy.polygon.technology) | 80002 | MATIC | [https://amoy.polygonscan.com](https://amoy.polygonscan.com) |
7. Your balance on the selected network appears in MetaMask.
## Add a network manually
Follow the [MetaMask guide to add a custom network](https://support.metamask.io/networks-and-sidechains/managing-networks/how-to-add-a-custom-network-rpc/) using the network parameters below.
| Network | RPC URL | Chain ID | Native token | Explorer URL |
| :-------------------: | :------------------------------------------------------------------------: | :------: | :----------: | :----------------------------------------------------------: |
| Polygon Chain mainnet | [https://polygon-mainnet.infura.io](https://polygon-mainnet.infura.io) | 137 | MATIC | [https://polygonscan.com/](https://polygonscan.com/) |
| Amoy (testnet) | [https://rpc-amoy.polygon.technology](https://rpc-amoy.polygon.technology) | 80002 | MATIC | [https://amoy.polygonscan.com](https://amoy.polygonscan.com) |